
This post will be a little different because the bulk of it will be a compare and contrast of two pumpkin bread baking products I tested. But first, I’ll start will a fun beverage I tried while stopping at The Coffee Bean and Tea Leaf.
Pumpkin Spiced Chai Tea Latte & Ice Blended
 Now, I just want to make this clear up-front: I avoid caffeine. I have ADD and it makes me sleepy. I also have acid reflux, so the acid in most caffeinated beverages upset my stomach. That said, I can occasionally have a caffeinated beverage without ill effects.
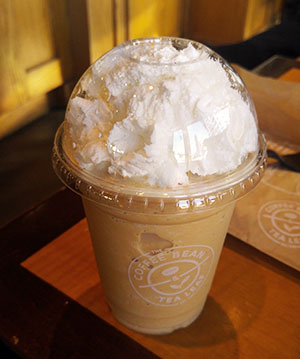
So, when I was killing time at a Coffee Bean and Tea Leaf in Los Angeles and saw “Pumpkin Spice” as an option for Ice Blended drinks, I was intrigued. I asked the girl behind the counter what was in it. She told me pumpkin, vanilla powder, and water. That sounded like something I could drink, so I ordered one.
When I tasted it, it was clear there was caffeine in it. I thought it was coffee, but apparently, it was black tea. It was delicious. The melding of the tea, pumpkin and vanilla flavors were refreshing and autumnal at the same time.
I really enjoyed it and, thankfully, suffered no ill effects. Perhaps the chocolate muffin and blueberry scone I had with it helped!
Rating
[one_fifth]  [/one_fifth]
[one_fifth] [/one_fifth]
[one_fifth] [/one_fifth]
[one_fifth] [/one_fifth]
[one_fifth_last]  [/one_fifth_last]
Pumpkin Bread Mix Compare and Contrast
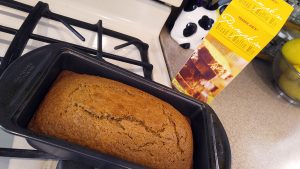
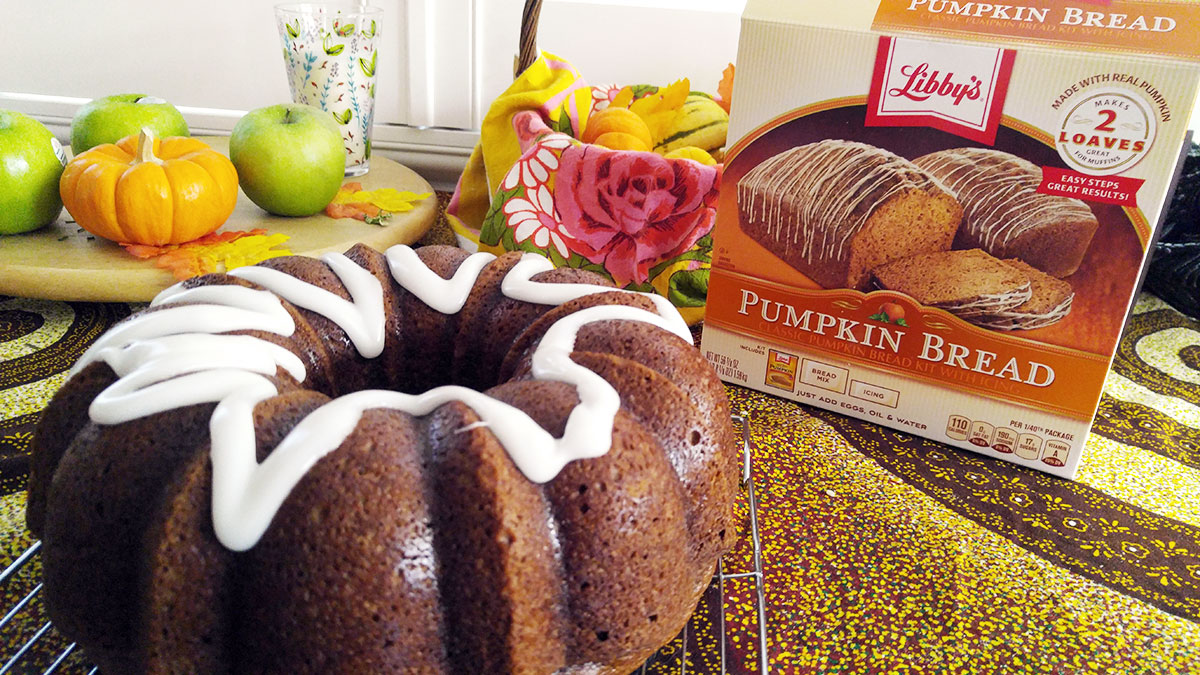
There are several brands offering a pumpkin bread mix at this time of the year. This year I purchased a box of Trader Joe’s Pumpkin Bread and Muffin Mix and Libby’s Pumpkin Bread Kit with Icing. I chose Trader Joe’s because I wanted to try pretty much every pumpkin offering they had this year. And I picked up Libby’s kit because Libby’s is the only brand of canned pumpkin I’ll use. I figured I’d give their kit a try.
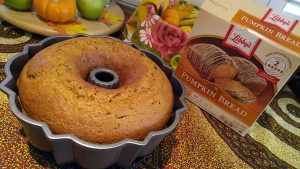
Trader Joe’s mix makes one loaf, while Libby’s kit makes two. I don’t own two loaf pans, so I make Libby’s kit in a Bundt pan, which was one of the options mentioned on the back of the box.
My first impressions of the packaging are that Trader Joe’s looked easy to use and Libby’s kit looked slightly more involved. The Trader Joe’s box gives you options to use one loaf pan or a standard muffin pan. There is also a creative suggestion for “Holiday Bread.” The Libby’s kit gives you options to use two 9” x 5” loaf pans, three 8” x 4” loaf pans, six mini loafs (you can buy a mini loaf pan with six loafs or use disposable aluminum pans), a 13” x 9” pan, a 12-cup Bundt Cake pan, 24 large muffins, 36 standard muffins, or 72 mini muffins. There is also a creative suggestion for Pumpkin Streusel Muffins.
[one_half] 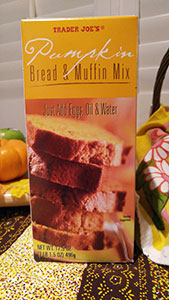 [/one_half]
[one_half_last] 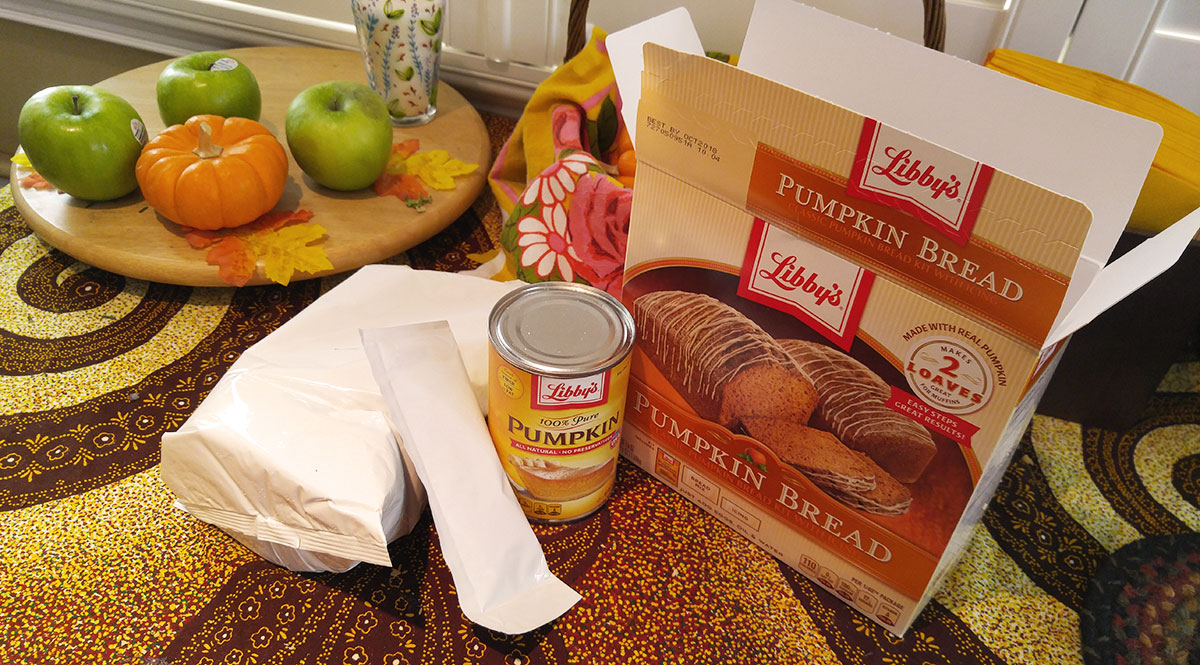 [/one_half_last]
Pumpkin Bread Mix Compare and Contrast Specifics
[one_third] Quality [/one_third][one_third] Trader Joe’s [/one_third][one_third_last] Libby’s [/one_third_last]
[one_third] Packaging: [/one_third]
[one_third] Simple and small, easy to fit into your pantry. [/one_third]
[one_third_last] Larger, but still relatively compact. [/one_third_last]
[one_third] Extra Ingredients: [/one_third]
[one_third] 2 large eggs, 1/2 cup oil and 1 cup water [/one_third]
[one_third_last] 4 large eggs, 1/2 cup oil and 1 cup water [/one_third_last]
[one_third] Ease of Use: [/one_third]
[one_third] It took me about 3-5 minutes to mix all the ingredients and place the pan in the oven. Baking time was 55 minutes. [/one_third]
[one_third_last] It took me about 4-7 minutes to combine all the ingredients and place the pan in the oven. Baking time was 65 minutes [/one_third_last]
[one_third] Aroma: [/one_third]
[one_third] I could detect the pumpkin, cinnamon, and nutmeg. There was also a touch of baking soda to the aroma. [/one_third]
[one_third_last] I could detect the pumpkin and cinnamon, but not as strongly as with the Trader Joe’s bread. And, like the Trader Joe’s bread, there was a touch of baking soda to the aroma. [/one_third_last]
[one_third] Texture: [/one_third]
[one_third] Moist, crumbly and even. [/one_third]
[one_third_last] Moist and smooth … just like a pound cake. A tad more dense than the Trader Joe’s. [/one_third_last]
[one_third] Flavor: [/one_third]
[one_third] Pumpkin, cinnamon with light notes of cloves. Mild flavored. [/one_third]
[one_third_last] Spicy pumpkin. Strong cinnamon and cloves, with a hint of ginger and nutmeg. [/one_third_last]
What Worked for Me
 Trader Joe’s Pumpkin Bread and Muffin Mix was quick and easy to make. It has a light and breezy flavor. I believe this would be a nice option if you need to make some quick breakfast muffins for your Fall guests.
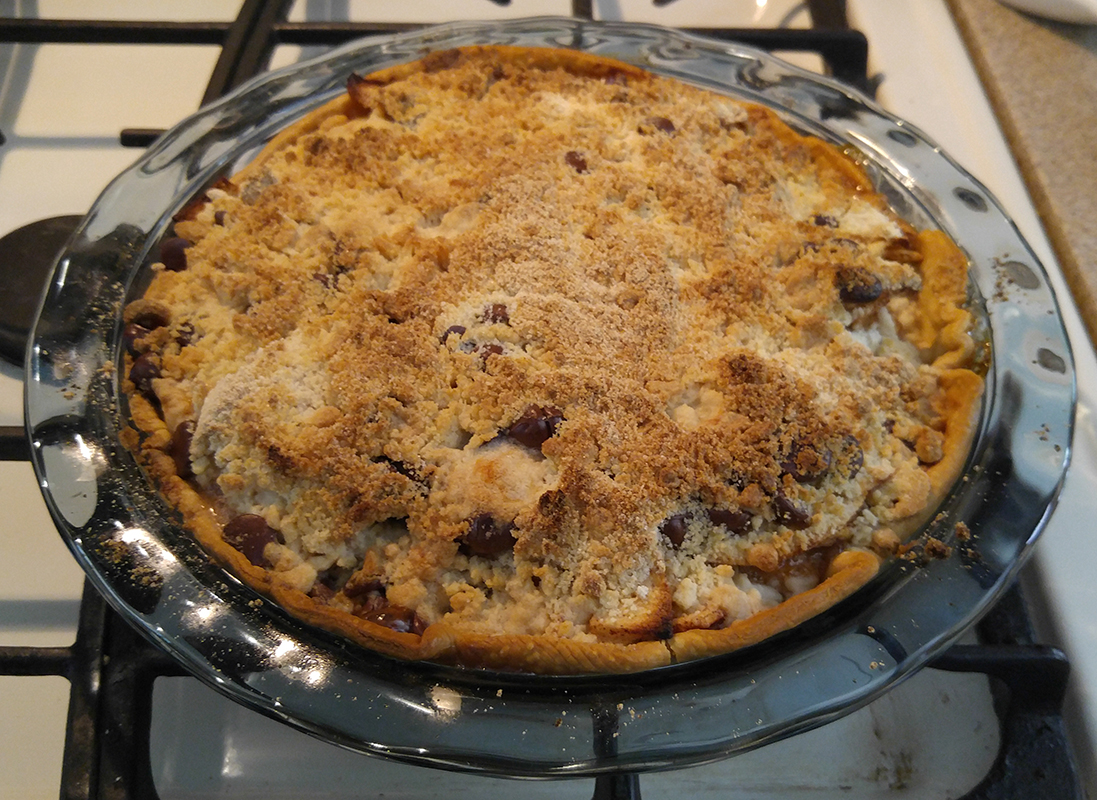
I really liked that I was adding in actual pumpkin pulp (rather than relying powdered pumpkin or pumpkin flavor) to the Libby’s Pumpkin Bread Kit with Icing. It made it feel fresher and more authentic. I believe the pumpkin was what made the pumpkin bread was moister than the Trader Joe’s mix, as well. I also liked that the quantity the kit made was more. I love making Bundt cakes and if I wanted to do that with the Trader Joe’s mix, I’d have to buy two.
Apples to Apples Comparison
 On that note, I did the math for you: Trader Joe’s Pumpkin Bread and Muffin Mix retails for $2.99 per box, which, apparently, is how much they’ve charged for this product since 2008. The Libby’s Pumpkin Bread Kit with Icing retails for anywhere from $4.99 (WalMart) to $10 (Amazon), depending on where you buy it.
If you wanted to make the equivalent amount of pumpkin bread using Trader Joe’s mix, you could use two boxes. To achieve the moisture that Libby’s kit had, I would add in 1 can of pumpkin (or the equivalent of fresh pumpkin pulp), while reducing the added water. You can leave off the icing or make your own by mixing powdered sugar with a touch of vanilla and some milk.
In order to get the equivalent Bundt cake using Trader Joe’s mix, you’d need to spend around $8 [2 x $2.99 (mix) = $5.98 + $1.88 (can of pumpkin) = $7.86, plus whatever the cost of your icing ingredients]. Therefore, not only does Libby’s kit provide a better tasting result, it’s more cost-effective, too!
What Didn’t Work for Me
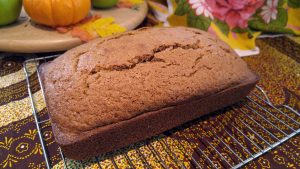 Trader Joe’s Pumpkin Bread and Muffin Mix had a tiny twinge of a baking-soda aftertaste. Not strong, but it may turn off some people.
As for Libby’s Pumpkin Bread Kit with Icing, I’m not a big fan of icing. I could live without it. It makes it look nice. But if I were to make icing for the bread, I’d make it thinner so it was more like a glaze.
Which Product Did I Like Better?
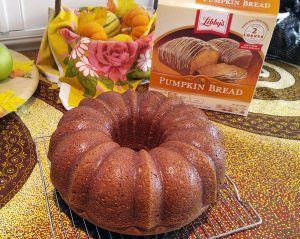 Although I liked how easy the Trader Joe’s mix was to use, the end product of Libby’s mix was clearly superior. The Libby’s pumpkin bread was moister, richer and had a more layered and textured flavor. Interestingly enough, the two pretty much smelled the same to me. It was the taste and mouthfeel that was different.
In addition, as I mentioned in my Apples to Apples Comparison above, the Libby’s Pumpkin Bread Kit with Icing ends up being more convenient and economical. Everything you need (besides the eggs, oil and water) are together in one kit and all for as little as $4.99!
Rating
Trader Joe’s Pumpkin Bread and Muffin Mix
[one_fifth] [/one_fifth]
[one_fifth] [/one_fifth]
[one_fifth] [/one_fifth]
[one_fifth] [/one_fifth]
[one_fifth_last] [/one_fifth_last]
Libby’s Pumpkin Bread Kit with Icing
[one_fifth] [/one_fifth]
[one_fifth] [/one_fifth]
[one_fifth] [/one_fifth]
[one_fifth] [/one_fifth]
[one_fifth_last] [/one_fifth_last]
Previous Pumpkin Tastings
- Pumpkin Season 2017 Taste Test #3
- Pumpkin Season 2017 Taste Test #2
- Review: Pumpkin Offerings at Ruby’s Diner
- Pumpkin Season 2017: Taste the Variety
- Review: Pillsbury Pumpkin Caramel Delight
- Pumpkin Gingerbread – An Experiment
- Review – Betty Crocker’s Pumpkin Spice Cookie Mix
Forthcoming Pumpkin Tastings
- Pumpkin pancake mixes: Foodstirs Organic Pumpkin Spice Stacks Pancake Mix, Trader Joe’s Pumpkin Pancake and Waffle Mix, and Krusteaz Complete Pancake Mix Pumpkin Spice Light and Fluffy
- Pumpkin bar mixes: Betty Crocker Limited Edition Pumpkin Spice Bar Mix vs. Krusteaz Supreme Bar Mix Pumpkin Spice
- Pumpkin cookie mixes: Betty Crocker Limited Edition Pumpkin Spice Cookie Mix vs. Krusteaz Bakery Style Cookie Mix Pumpkin Spice
- Krusteaz Supreme Muffin Mix
- Foodstirs Organic Chocolate Chippy Pumpkin Bread Mix
- Trader Joe’s Pumpkin O’s

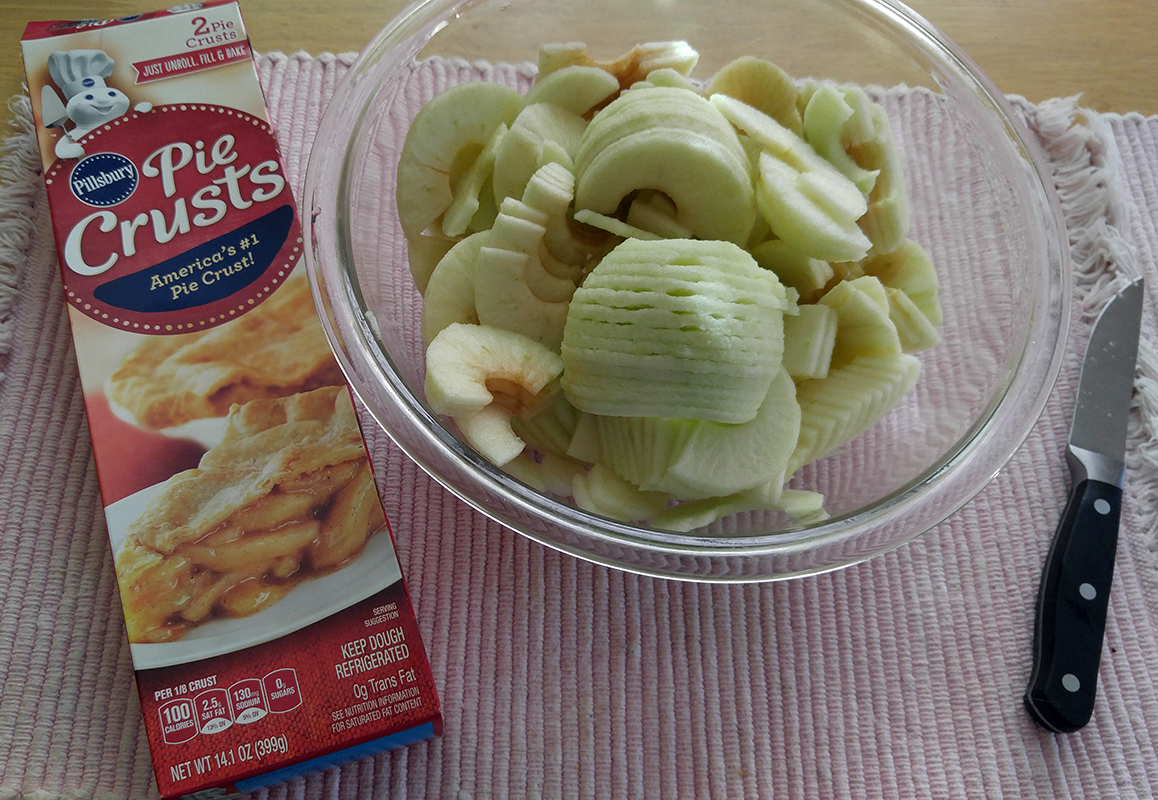

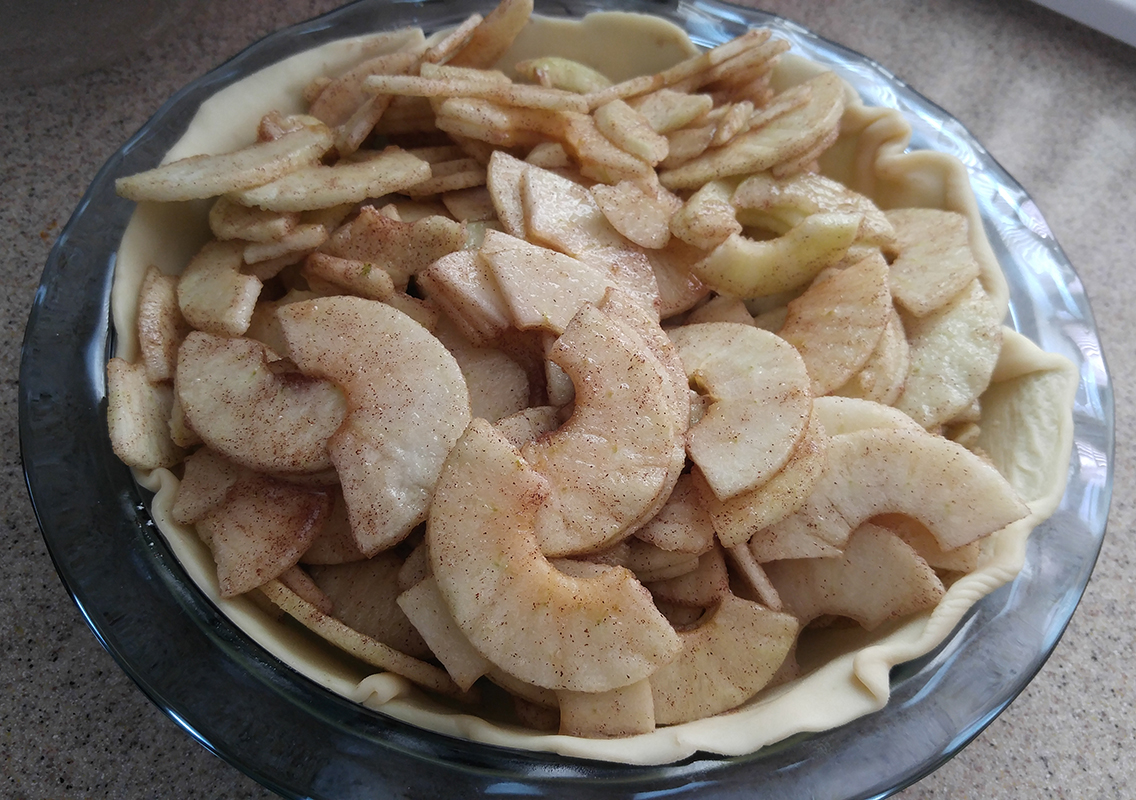

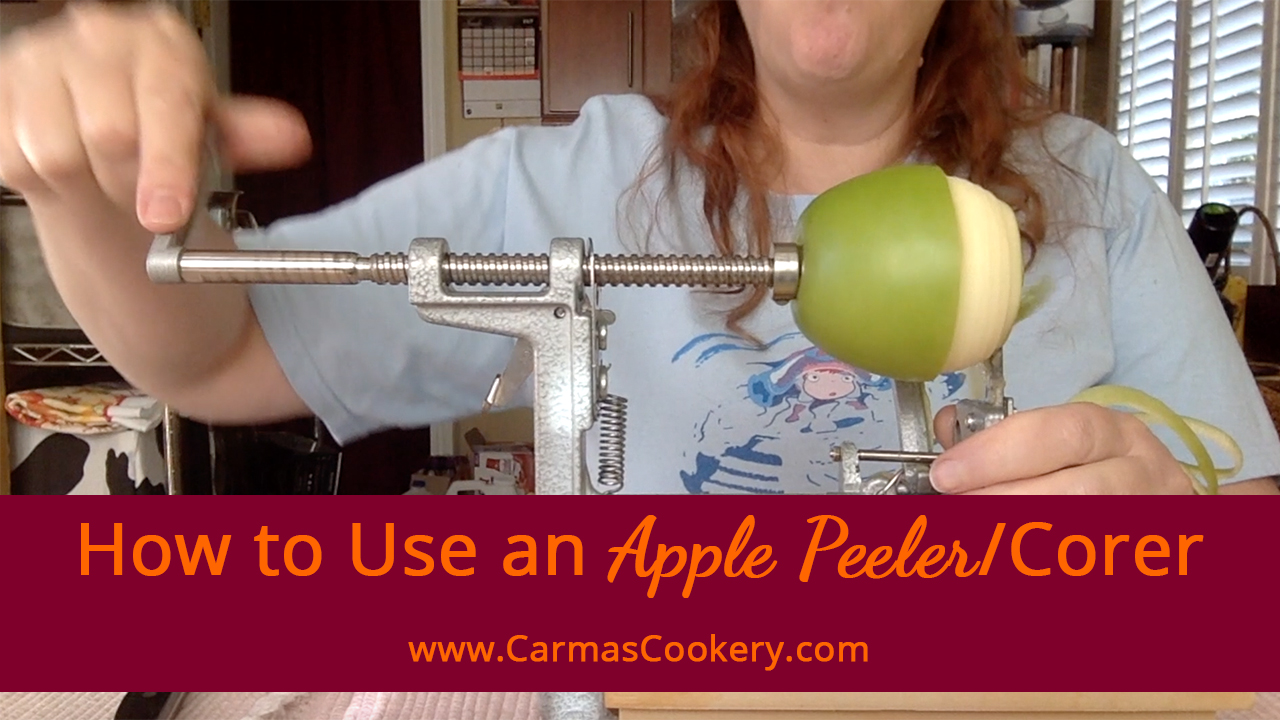
 Apple peelers, once called apply parers, are gadgets that peel, slice, and core apples, making this time-consuming kitchen task much quicker and easier.
 Apple slicers come in two basic types: One that simply removes the core and slices the apple into eight slices, and one that peels, cores and slices to whatever width you choose. In this post, I’m talking about the latter. The one I have is from
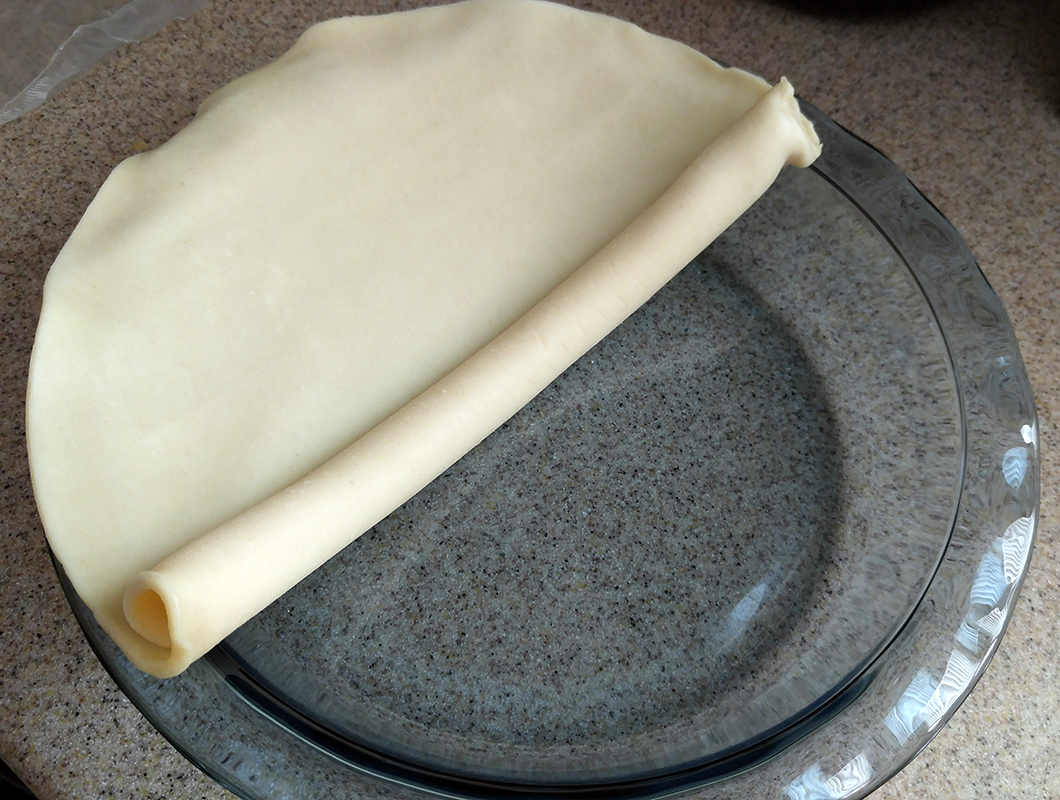
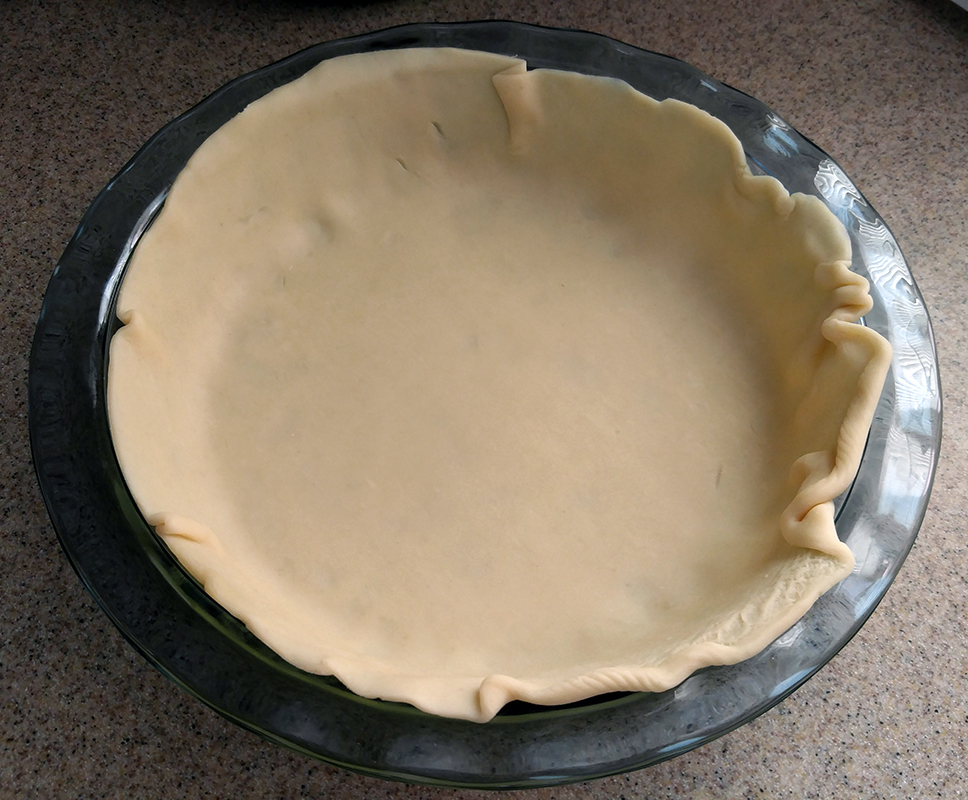
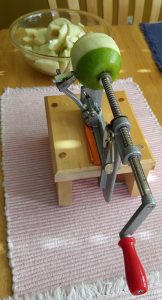
 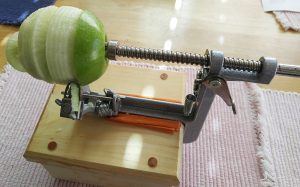 Step 1: Mount the peeler to a stand or other fairly stable surface.
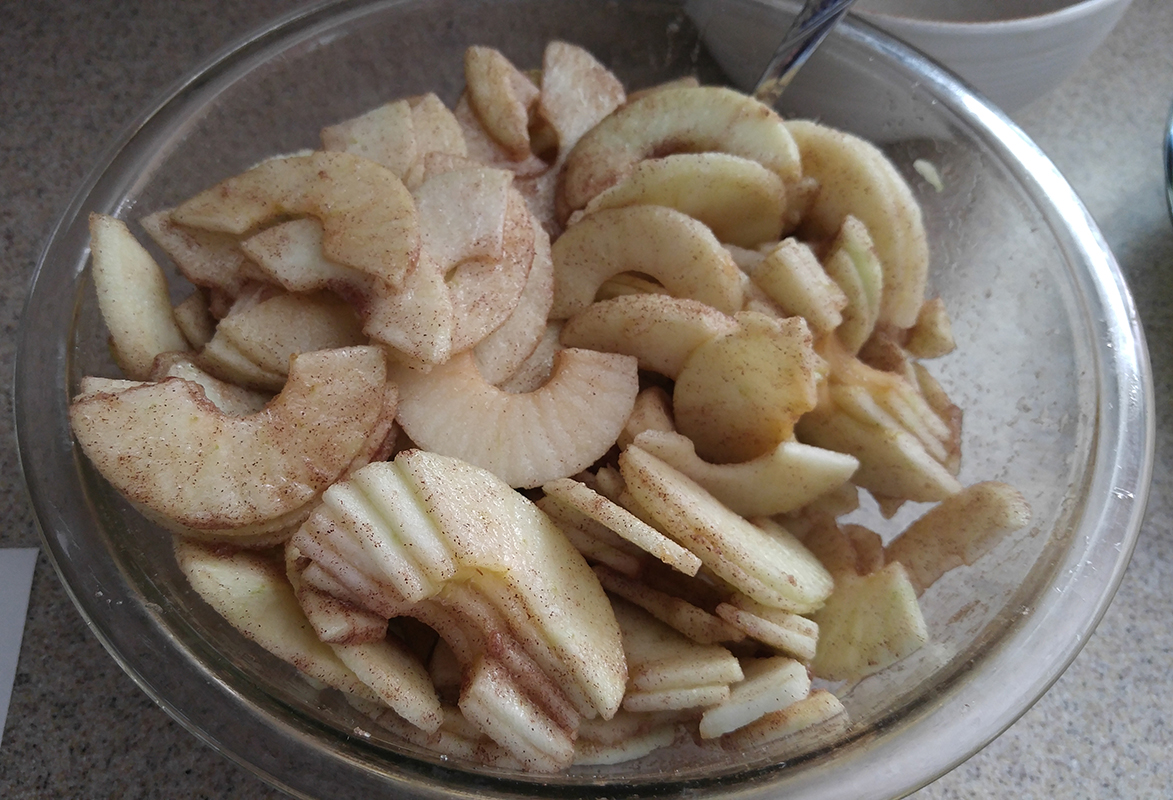
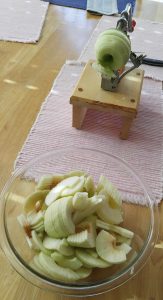 Step 4: Turn the crank so that the apple moves toward the coring circle. I didn’t mention this in the video, but the peeler can be set at different depths so you can get a thinner or thicker slice of the peel. Be sure that it isn’t so thin that much of the peel remains on the apple, or so thick that you waste a lot of the actual fruit.


 [/one_third_last]
 [/one_third_last]
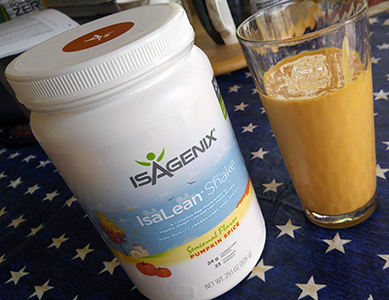 Through a Facebook friend, I found out about this one and had to buy it to add it to this series. I’ve had Isagenix shakes before and although pricey, they do taste pretty darn good.
 [/one_third_last]
 [/one_third_last]
 [/one_third_last]
 I’m going to preface this with that I’m not a big fan of Fudge Strip Cookies. I can take them or leave them, but I grabbed these because of the magic words “pumpkin spice.”

 [/one_fifth][one_fifth]
  [/one_fifth_last]