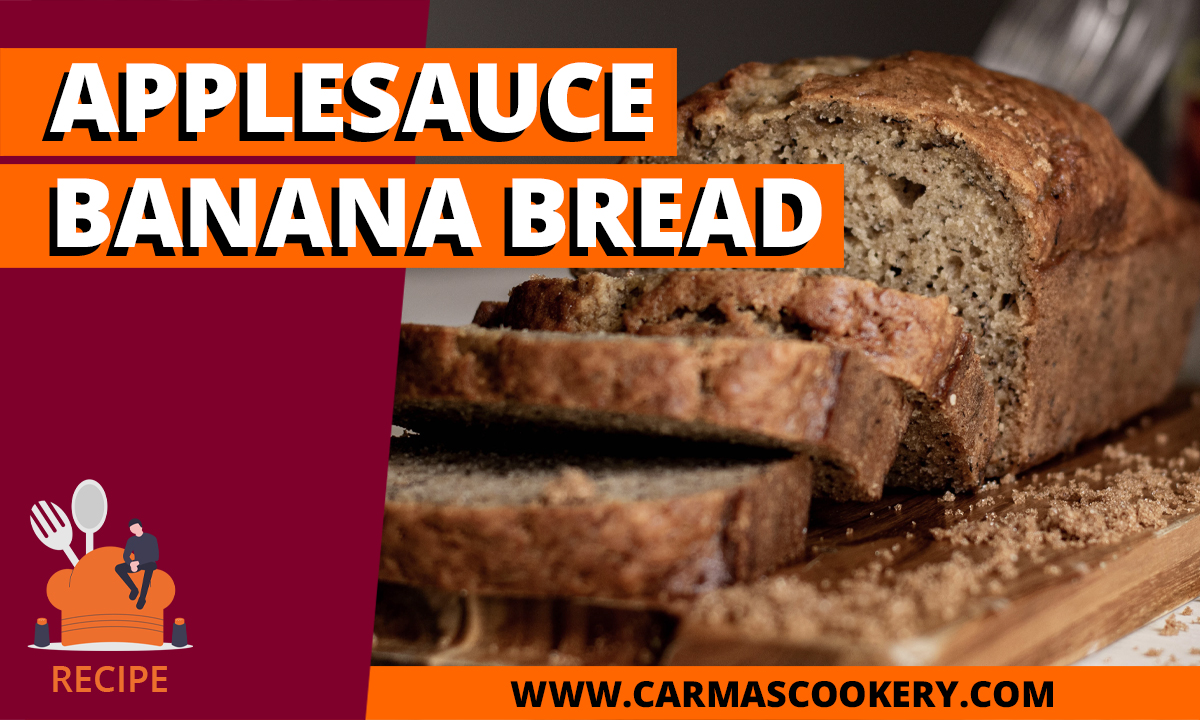
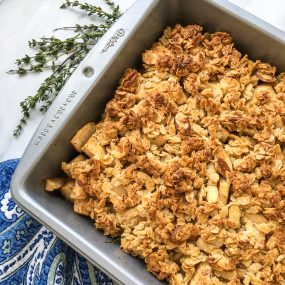
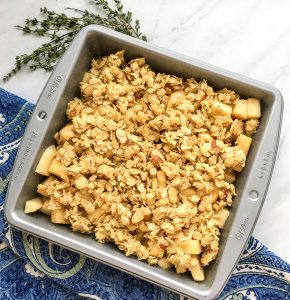
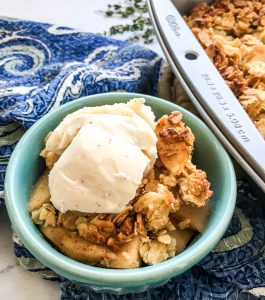
Applesauce is often used as a substitute for fats or sweeteners, as well as an additive for moisture. Using it in this recipe gives this banana bread a sweet moistness without making taste like apples.
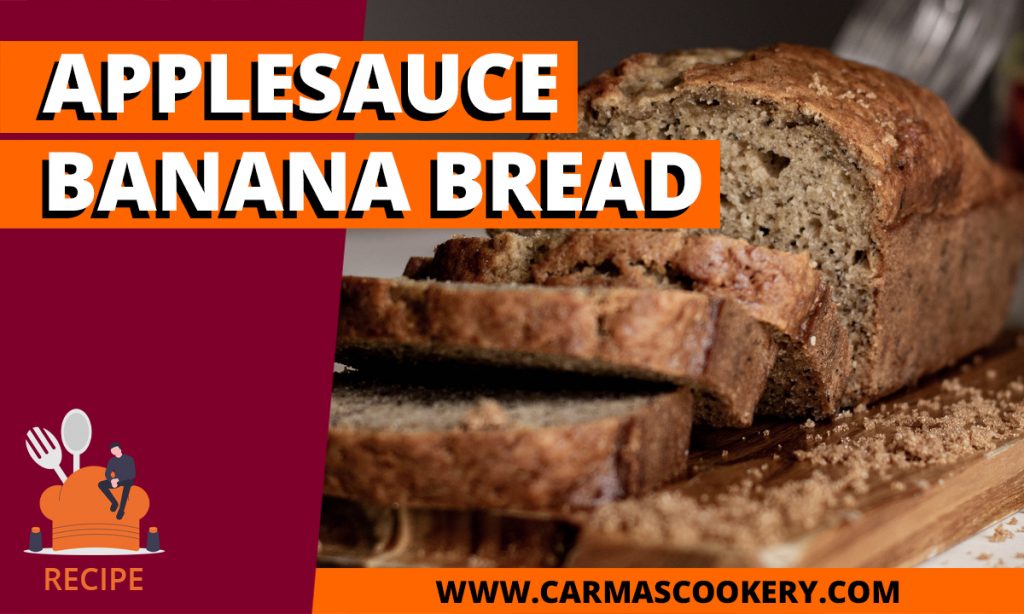
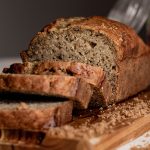
Applesauce Banana Bread
Ingredients
- 4 ripe bananas
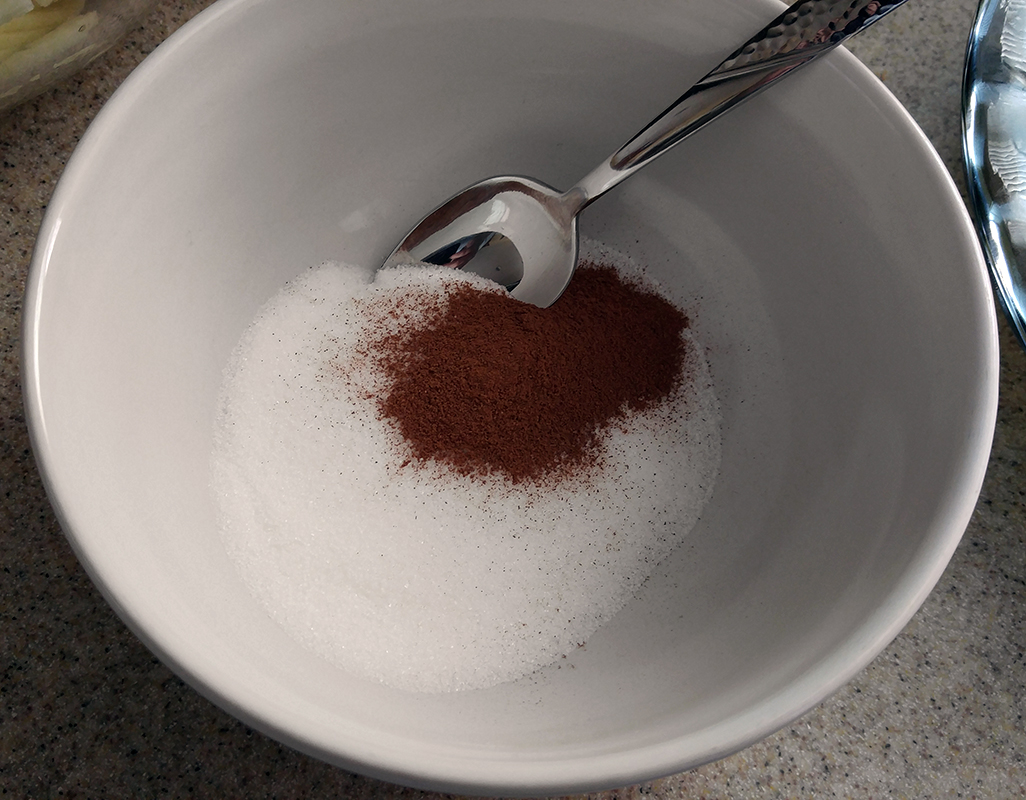
- 1 cup of sugar
- 1/2 cup of applesauce
- 2 eggs
- 2 cups of bread flour
- 1/4 teaspoon of salt
- 1 teaspoon of vanilla
Instructions
- Preheat the oven to 350 degrees and grease a 9" x 5" loaf pan.
- Into a large bowl, slice the bananas. Use an electric mixer to mash.
- Add the sugar and blend. Let mixture stand for 15 minutes.
- Add applesauce and eggs. Mix well.
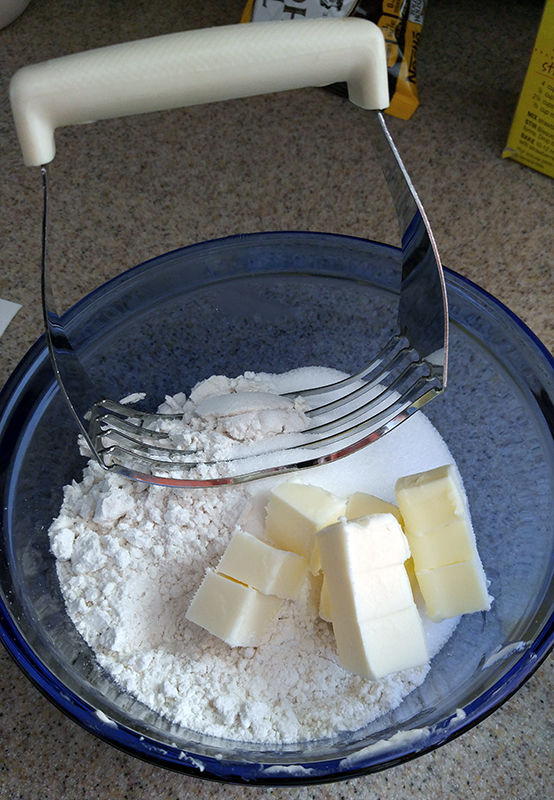
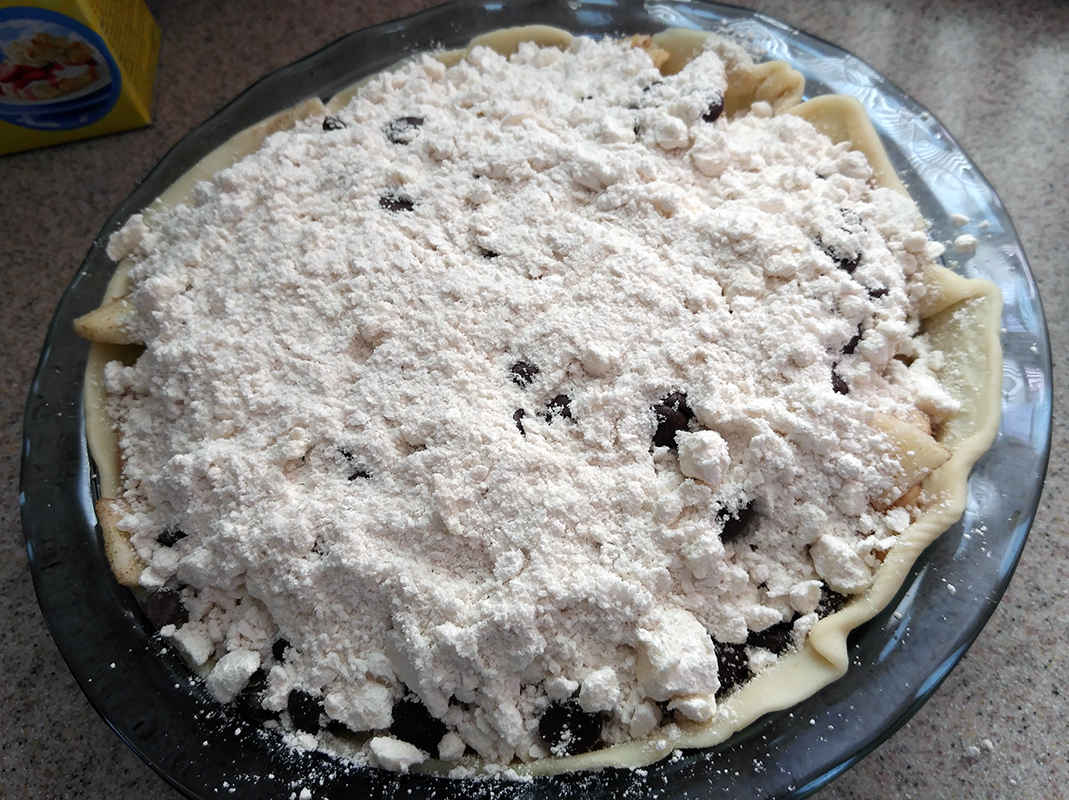
- Blend in the remaining ingredients.
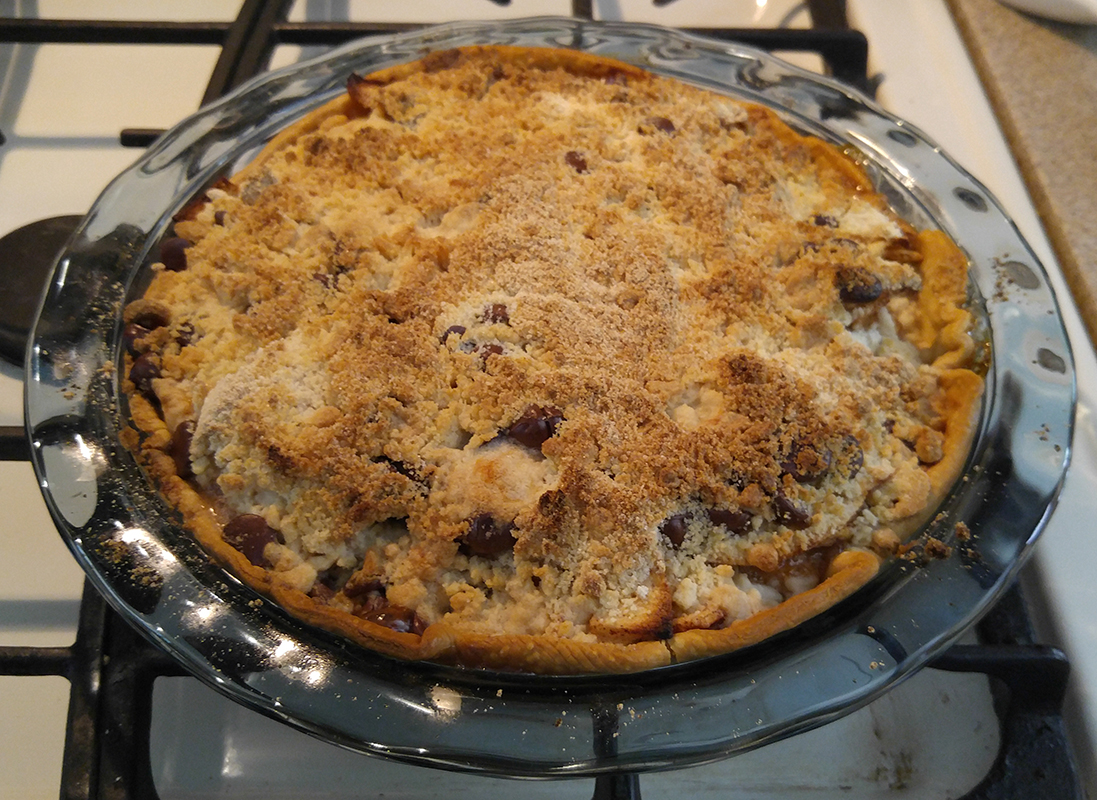
- Pour into the prepared loaf pan and bake for 55 minutes.
- Remove from the oven and let stand again for 10 to 15 minutes.
- Transfer to a wire rack to cool completely before serving.
Applesauce to the Rescue
A great way to reduce the fat and processed sugar in a recipe is to use applesauce instead. That’s what was done in this recipe. Here are some pointers for doing so in other recipes:
- In cake, muffin, and quick bread recipes that call for oil or melted butter, you can use applesauce instead. It does not work well if the recipe calls for softened butter.
- Applesauce does not work well as a substitution in cookies because it can cause them to get mushy or lose their shape.
- Substitute using a 1-to-1 ratio. For example, in a recipe that called for 1/2 cup melted butter, you would use 1/2 cup applesauce instead.
- It is best to use unsweetened or homemade applesauce in these substitutions, especially if you are trying to reduce processed sugar!
You need not substitute 100% off of the fat. You can go 50/50 or some other ratio. Experiment to find out which ratio gives you the best results for your recipe.
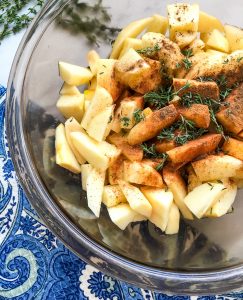
Homemade Applesauce for Baking
It is easy to make homemade applesauce for use in other recipes! Simply wash, core, and quarter 2 pounds of apples and follow these simple instructions:
- Place the apples in a large pot and fill it with water to about an inch deeper than the apples.
- Boil until the apples are soft.
- With a bit of the cooking water, put them through a blender or food processor.
If you use naturally sweet apples, you can reduce the sugar in the recipe that you use this apple sauce in.

Additions to Make this Uniquely Your Own
This recipe is pretty plain. What to spice it up? Here are some ideas for making this banana bread uniquely your own.
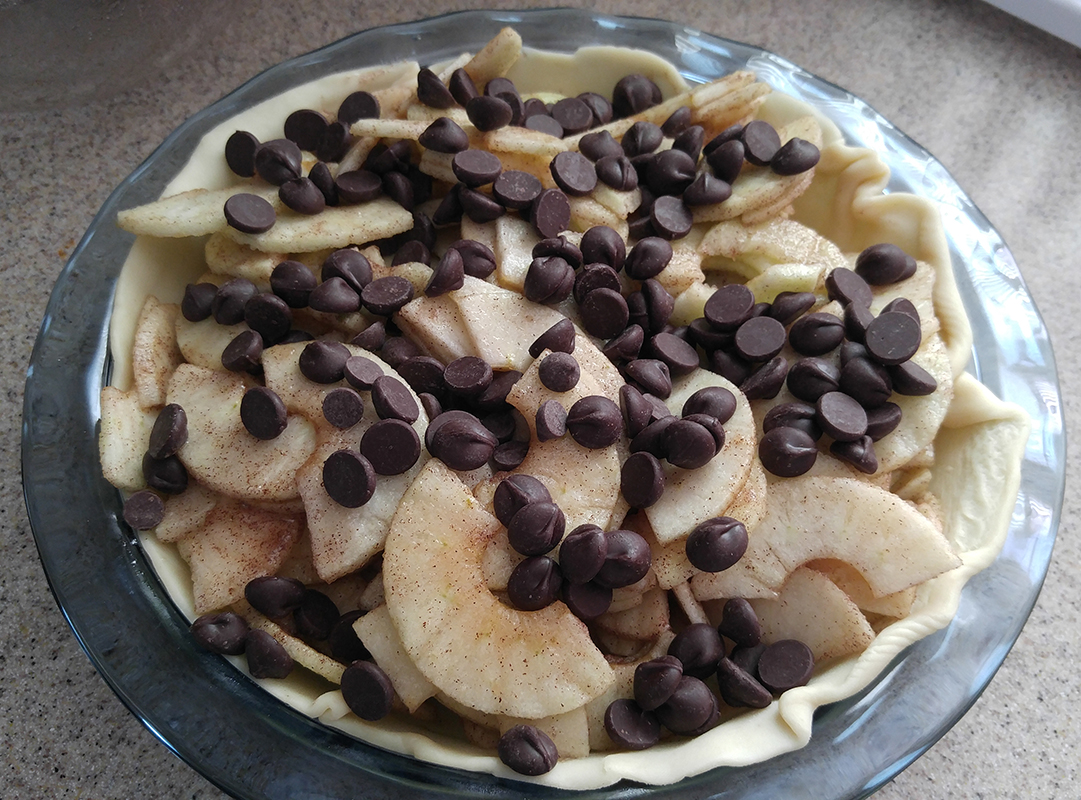
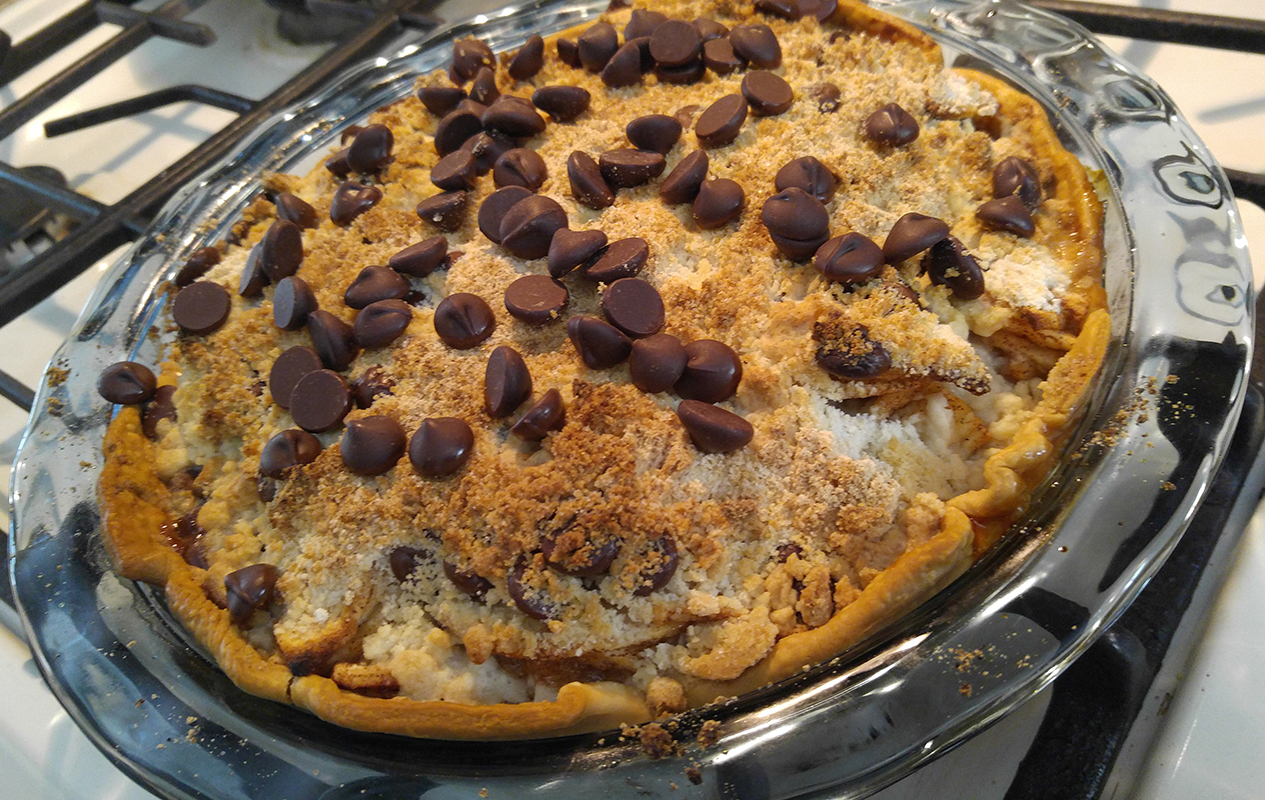
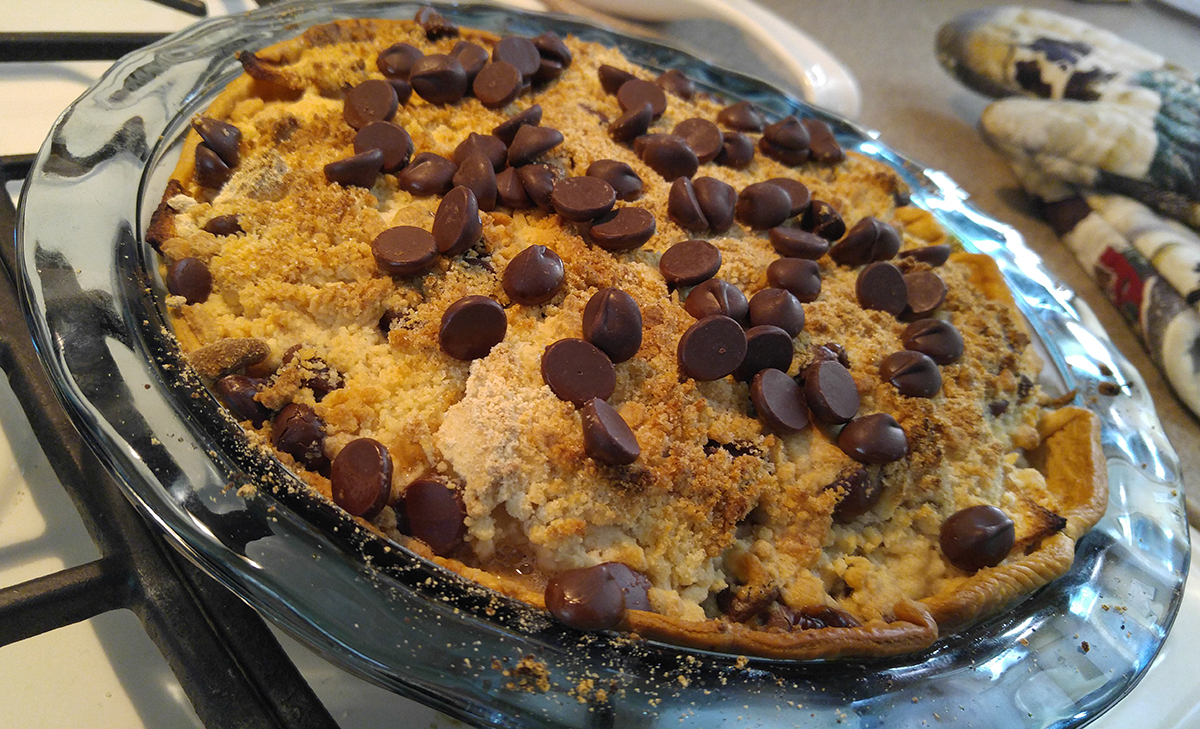
- Add chocolate, caramel or butterscotch chips
- Add chopped pecans, walnuts, peanuts, or almonds
- Swirl your favorite jelly, jam or preserves into the batter after pouring it into the pan
- Add shredded coconut
- Substitute crushed pineapple for the applesauce
- Add in some chopped strawberries
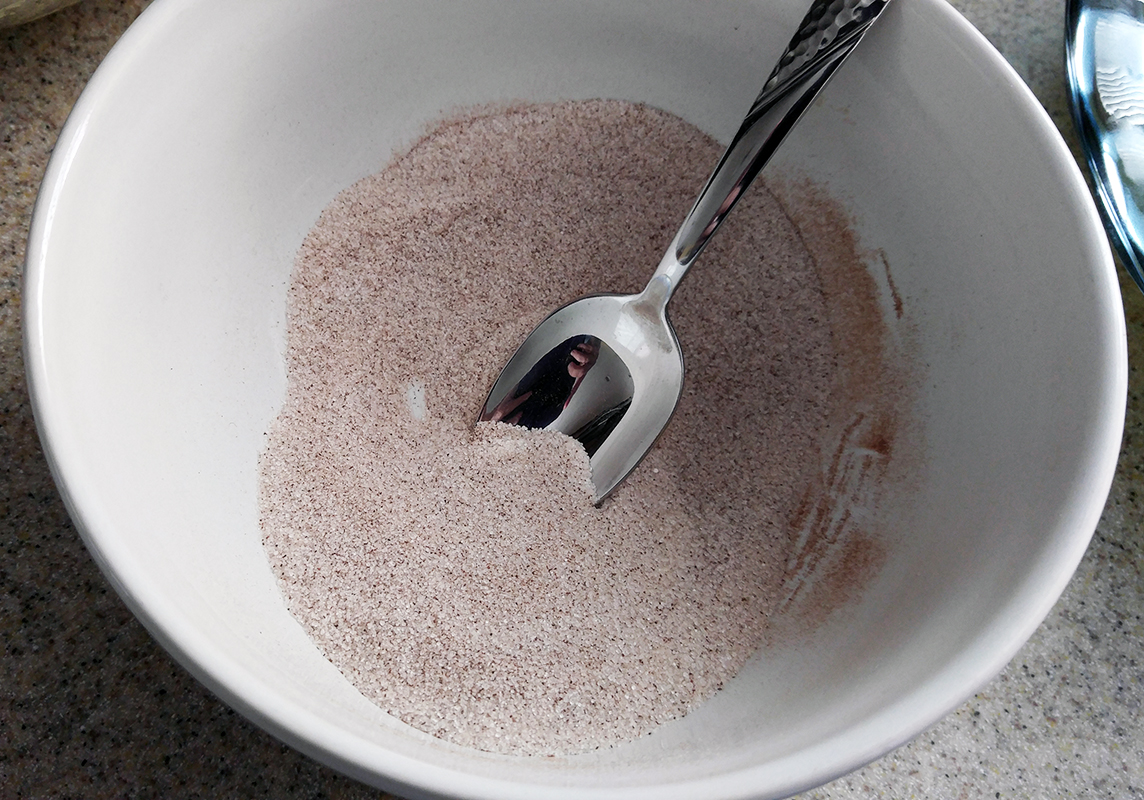
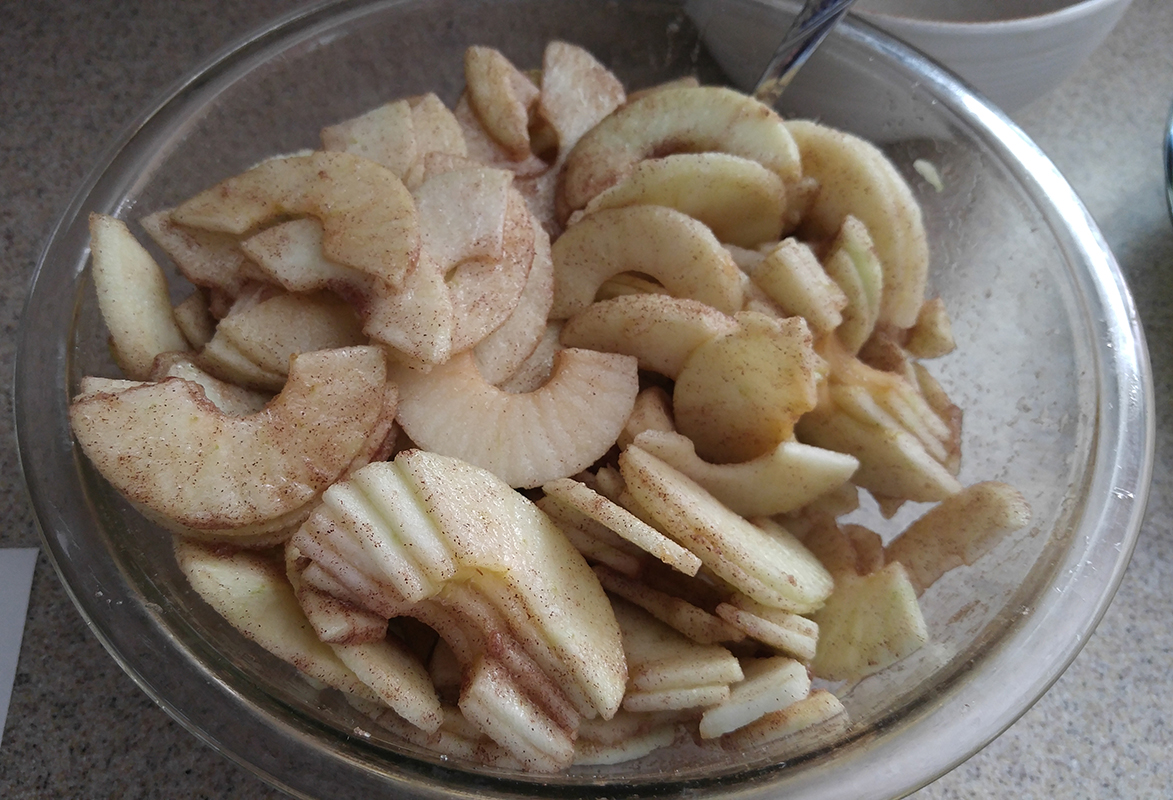
- Mix in some cinnamon or cardomom
- Add in peanutbutter
- Mix and match the above sujestions


 [/one_fourth]
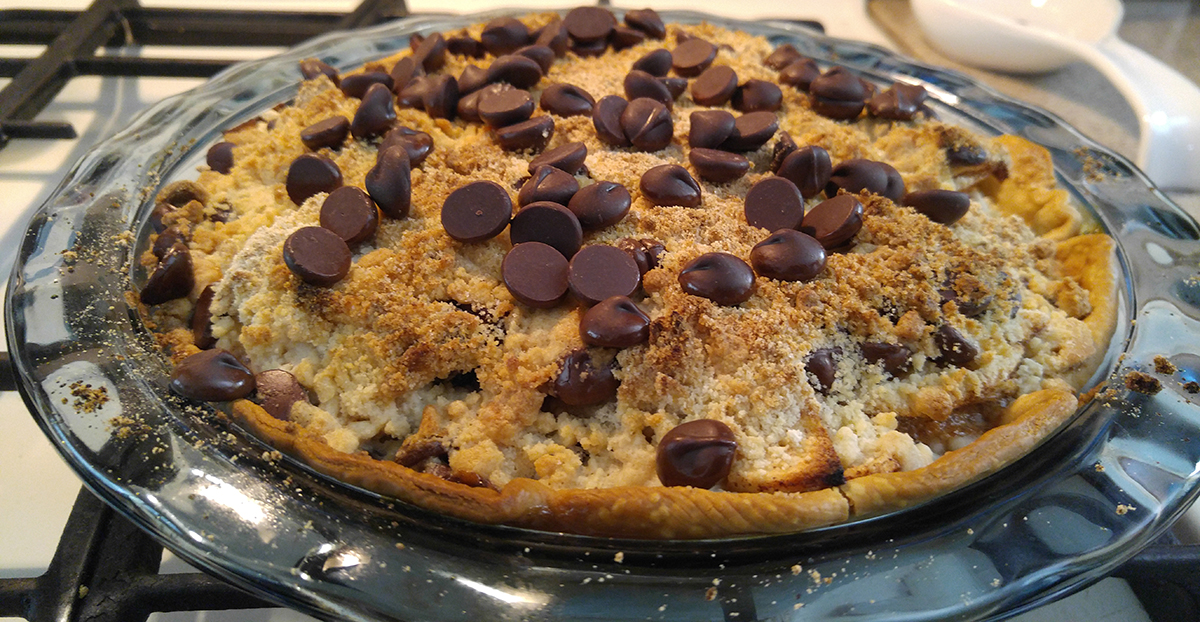

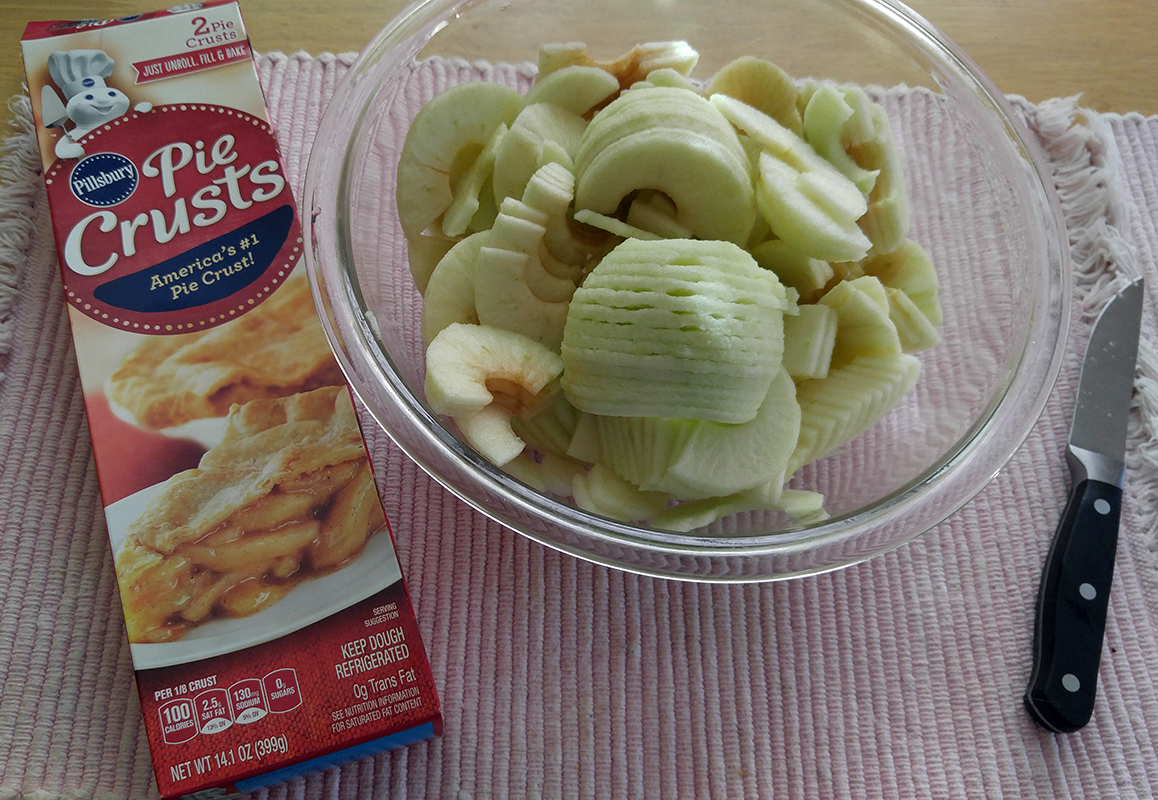


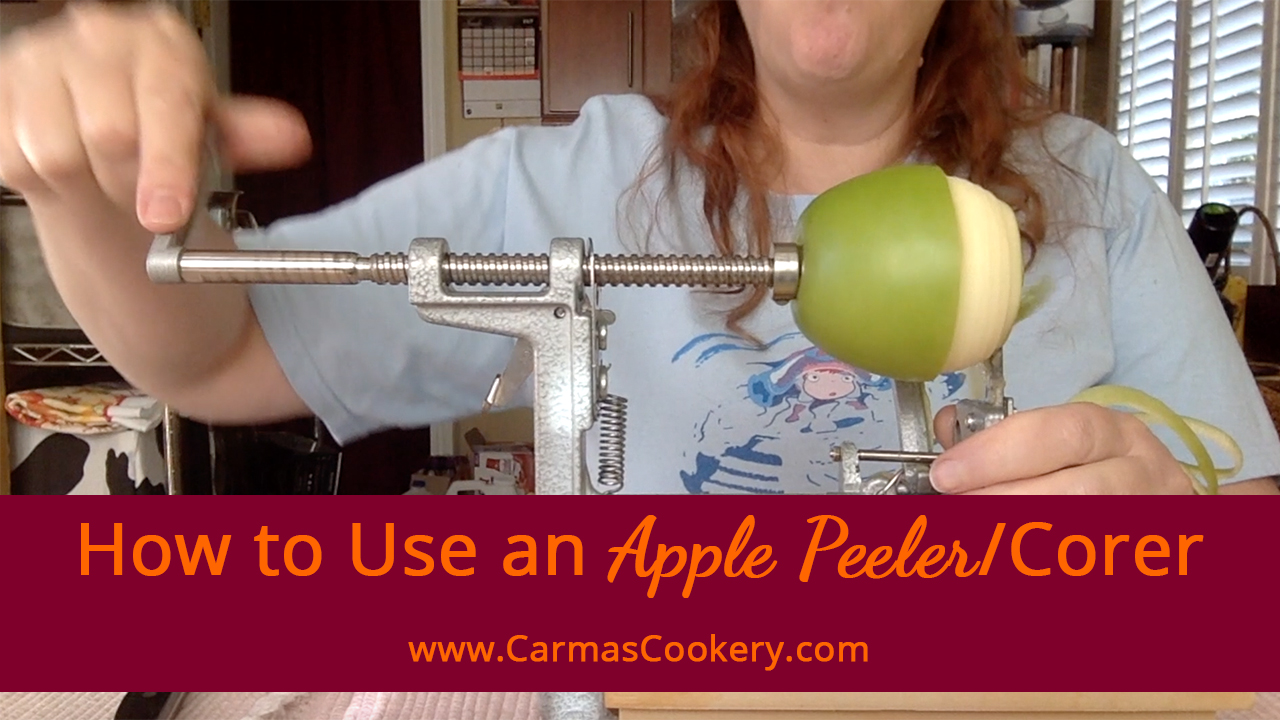
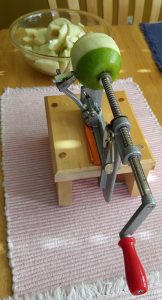 Apple peelers, once called apply parers, are gadgets that peel, slice, and core apples, making this time-consuming kitchen task much quicker and easier.
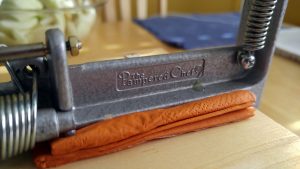 Apple slicers come in two basic types: One that simply removes the core and slices the apple into eight slices, and one that peels, cores and slices to whatever width you choose. In this post, I’m talking about the latter. The one I have is from
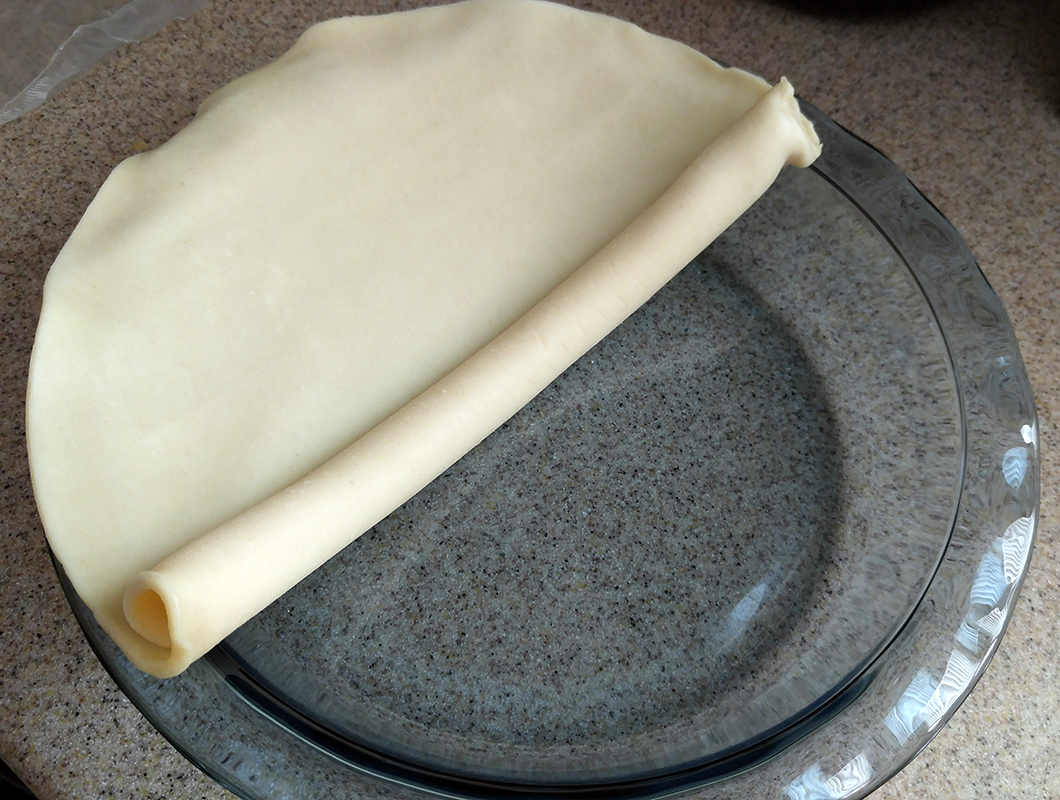
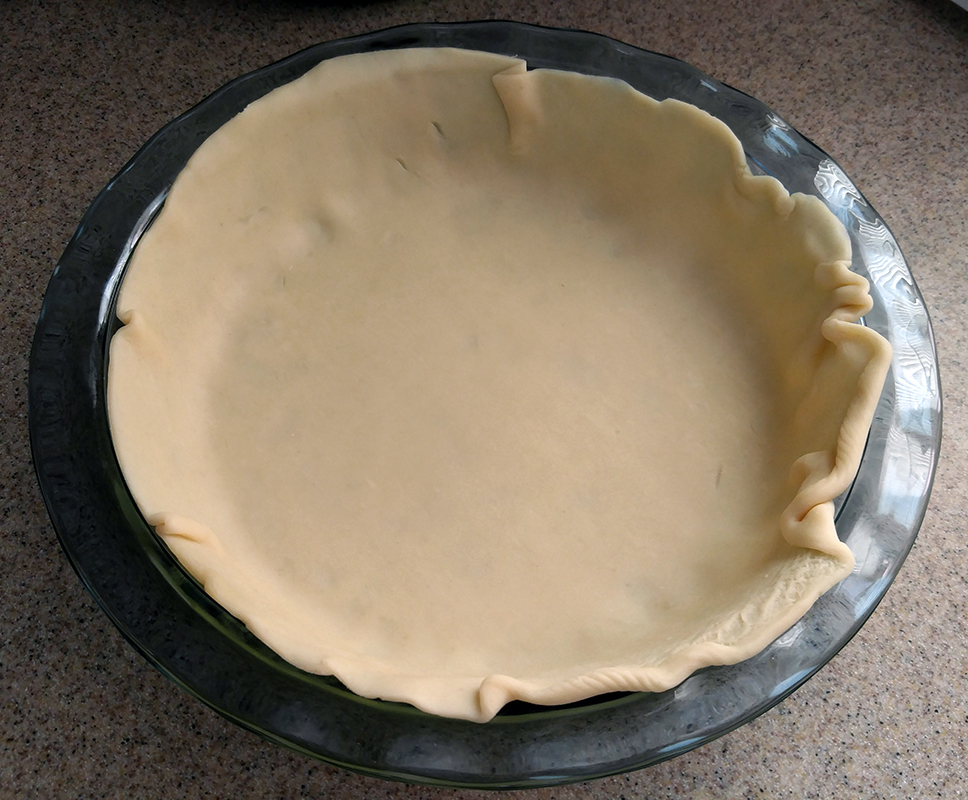
 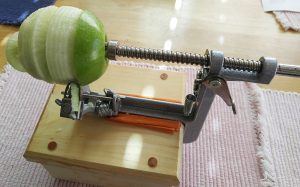 Step 1: Mount the peeler to a stand or other fairly stable surface.
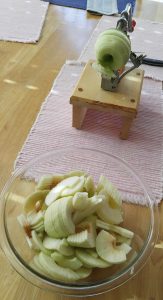 Step 4: Turn the crank so that the apple moves toward the coring circle. I didn’t mention this in the video, but the peeler can be set at different depths so you can get a thinner or thicker slice of the peel. Be sure that it isn’t so thin that much of the peel remains on the apple, or so thick that you waste a lot of the actual fruit.