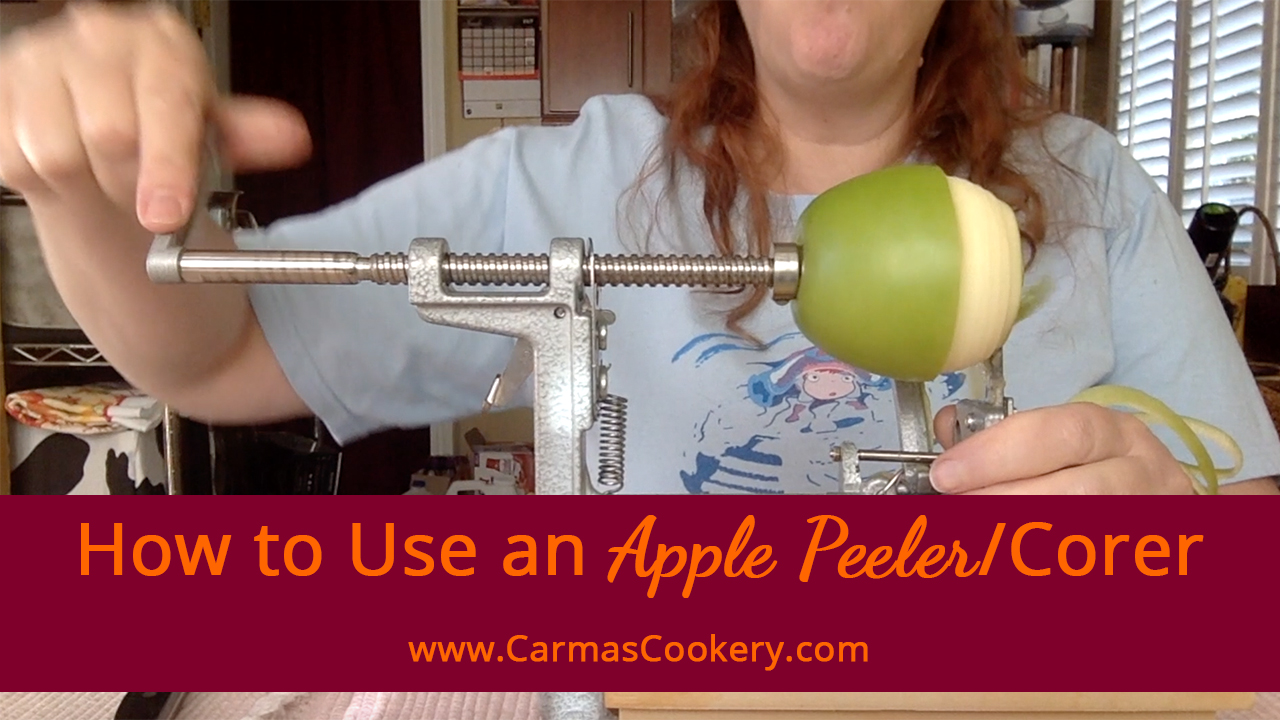
I may not use it all that often, but I love my apple peeler/corer. It may take a little getting used to — there are peculiarities to this gadget. But once you get the hang of it, you can cut your apple peeling and slicing chores in half — if not more. In addition, your apple slices will be more uniform and, possibly, thinner than you could achieve with a knife. If you make apple pie at least once a year, you’ll want to have one of these on hand. In this post and its accompanying video, I show you how to use one.
What Is an Apple Peeler/Corer?
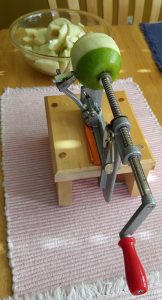 Apple peelers, once called apply parers, are gadgets that peel, slice, and core apples, making this time-consuming kitchen task much quicker and easier.
Most models of apple peeler, slicer, and corer are mechanical in nature, using a crank to push the apple through the device. However, electronic versions also exist.
They first came into demand as early as the 1700s when a growing need for apples as a winter staple for both food and drink became apparent. In order to store this fruit, they needed to be processed and peeling, coring and slicing by hand were cumbersome, slow and, in some cases, wasteful. Therefore inventors started creating a variety of gadgets that would get the job done.
You can learn more about the history of apple peelers at The Virtual Apple Parer Museum and at the Museum of the City of New York.
Varieties of Apple Peeler and Corers
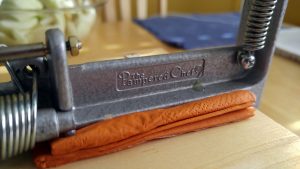 Apple slicers come in two basic types: One that simply removes the core and slices the apple into eight slices, and one that peels, cores and slices to whatever width you choose. In this post, I’m talking about the latter. The one I have is from The Pampered Chef, which I mount upon their apple peeler stand. You can purchase them separately, or as a set. However other companies make these kitchen gadgets, as well.
How To Use an Apple Peeler-Corer
In this video, I show you how I use my Pampered Chef Apple Peeler-Corer.
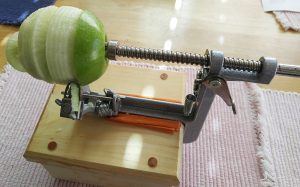 Step 1: Mount the peeler to a stand or other fairly stable surface.
Step 2: Choose a firm apple. If there are bruises, it will be more difficult to peel.
Step 3: Place the apple in your peeler. Try to get the two ends of the core as straight as possible so that the three prongs go in the side where the stem was and the coring circle will meet the other end and evenly as possible.
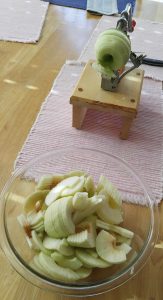 Step 4: Turn the crank so that the apple moves toward the coring circle. I didn’t mention this in the video, but the peeler can be set at different depths so you can get a thinner or thicker slice of the peel. Be sure that it isn’t so thin that much of the peel remains on the apple, or so thick that you waste a lot of the actual fruit.
Step 5: Once the apple is through the coring circle, simply remove your spiral-cut apple and cut at least on one side to create slices.
Step 6: Remove the skin that was peeled off and the core from your apple peeler and you are ready for your next apple.
This Thanksgiving I made two Johnny Appleseed Pies (it’s my husband’s favorite pie). I’ll share the recipe, along with some creative alteration ideas tomorrow.

