Categories
Recipes

Single-Serve Sticky Buns

The historical ancestor of sticky buns was the bread with honey and nuts that the Ancient Egyptians ate. However, originally known as “Schnecken,” the German settlers of Pennsylvania (Pennsylvania Dutch) developed what we know today as the sticky bun.

The first people to add honey and nuts to their bread were the Ancient Egyptians. German settlers in Pennsylvania created our modern-day sticky buns.

At first glance, it can be hard to tell the difference between a sticky bun and a cinnamon roll — however, a difference does exist.

Cinnamon rolls are placed directly into a baking dish and glazed after baking. They also don’t contain nuts.

Sticky buns have a caramel glaze that is baked right with them. They also, more often than not, have nuts. In the case of the recipe below, I’ve used pecans.

This recipe makes 10 sticky buns. Cut this recipe in half and buy a smaller package of refrigerated biscuits to make a smaller batch.
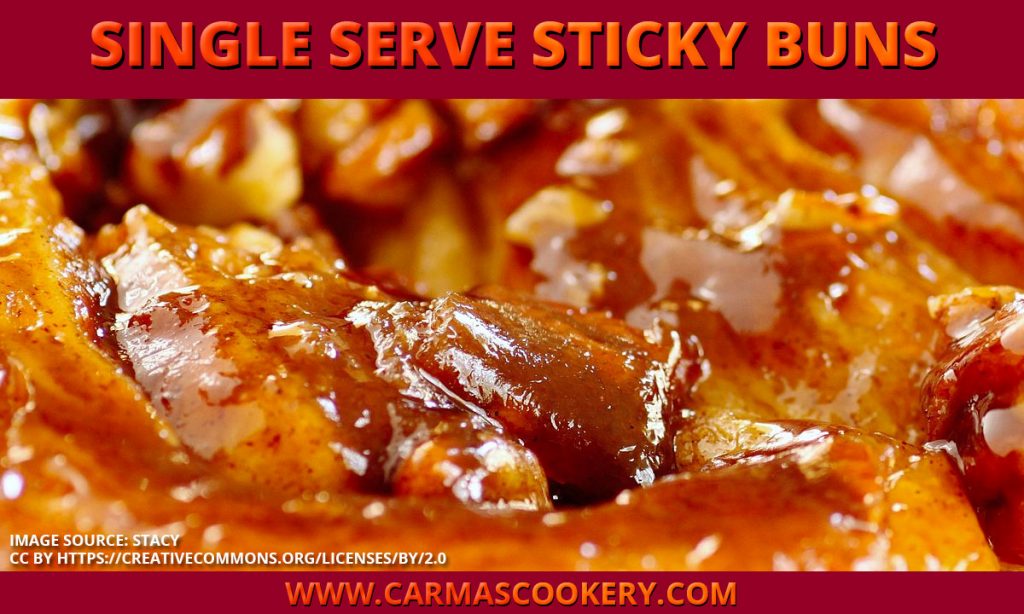
Single Serve Sticky Buns

How to Make Single-Serve Sticky Buns

Ingredients

  • 2 Tbsp. butter cut into 10 equal parts
  • 1/2 cup chopped pecans, divided into 10 parts
  • 4 Tbsp. brown sugar, divided into 10 equal parts
  • 1 10-pack refrigerated biscuits

Directions

  1. Preheat oven to 375 degrees F.
  2. Using a 10-muffin muffin tin, drop one dollop of butter into each muffin hole.
  3. Sprinkle one portion of pecans and one portion of brown sugar over the butter.
  4. Top with one biscuit.
  5. Bake for 9 minutes or until golden brown.
  6. Place a large platter or cookie sheet on top of the muffin tin. Carefully flip the tin over. If necessary, tap the bottom of the muffin tin to release the sticky buns.
  7. Serve immediately.

Here are some storage guidelines in case you want to same some for later:

  • Room temperature: Up to 2 days. Cover with foil or plastic wrap to prevent drying out.
  • Refrigerated: Up to 7 days. Cover with foil or plastic wrap to prevent drying out.
  • Frozen: Up to 3 months. Simply thaw overnight in the refrigerator and warm up before enjoying them.
Categories
Recipes

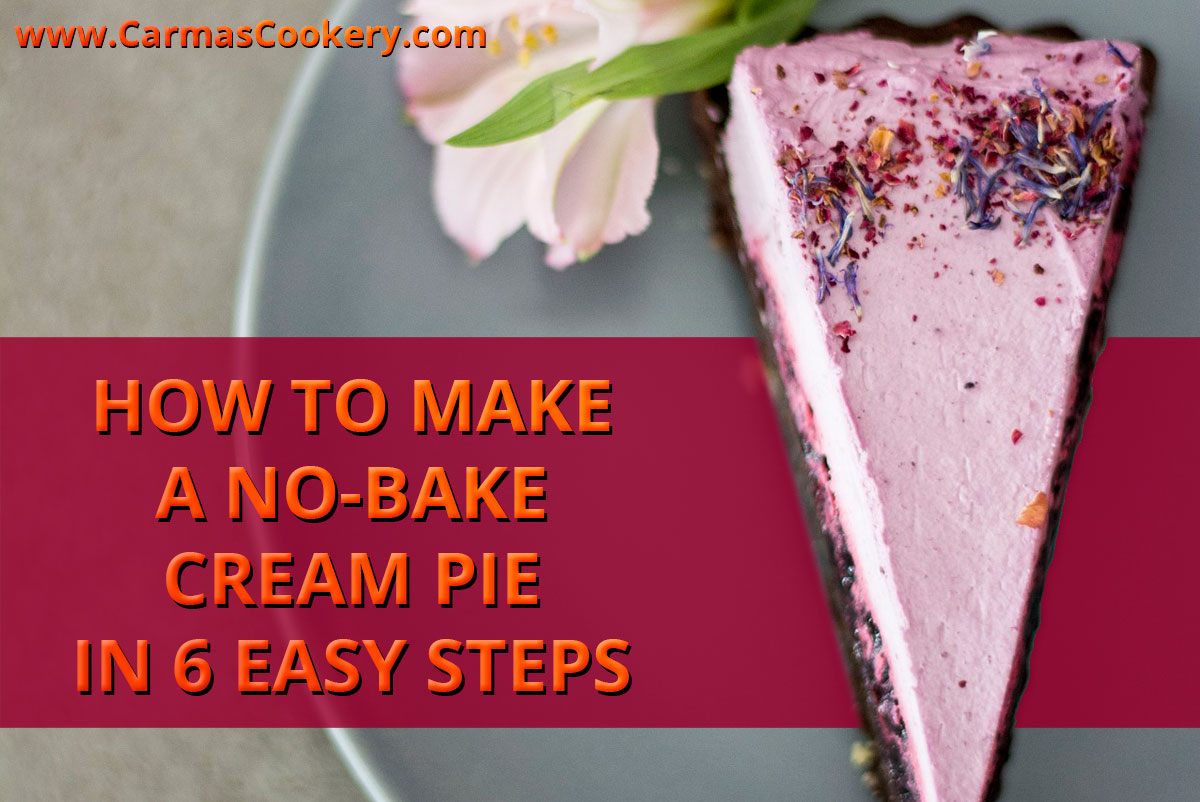
How to Make a No-Bake Cream Pie in 6 Easy Steps

There are two types of cream pie: baked and no-bake. If you’re looking to pull together an easy cream pie in a jiffy, I suggest opting for the no-bake variety. A no-bake cream pie is much easier to make and, since it can be made using store-bought mixes, you can create one in any flavor combination you desire.

How to Make a No-Bake Cream Pie in 6 Easy Steps

Step 1: Select Your Pie Crust

Personally, I prefer crumb crusts for my no-bake cream pies, but you can use a traditional baked crust. If you go with that option, be sure that the crust is not only fully baked but cooled down, as well, before adding the filling.

Step 2: Select Your Cream Filling

The easiest way to do this is to choose your favorite instant pudding mix. You can mix it according to the instructions on the box or, for a fluffier filling, beat it with an electric mixer. To make it even more fluffy, add in 1 cup heavy cream once the pudding starts to thicken and beat until light, fluffy and forming soft peaks.

Step 3: Pour the filling into the crust.

This is the easy step… just pour it in and smooth it out.

Step 4: Select your topping.

My favorite cream pie topping is whipped cream or another whipped topping. Although, some people use meringue.

Step 5: Chill in the refrigerator for at least an hour.

This step helps the ingredients set and makes serving the pie much easier.

Step 6: Garnish and enjoy!

You can put a mint leaf on top of each slice, sprinkle with Jimmies or nuts, or even add some chocolate shavings. How you garnish your cream pie is up to you!

[divider]

[one_third] [/one_third]
[two_third_last]

Looking for a few more pie recipes to try?

Do you want to create your perfect, signature pie, but just can’t find the right recipe? Your Perfect Pie may just be the cookbook for you!

Breaking down the mystique of homemade pie into modules you can mix and match, this simple cookbook is sure to please. Learn more and grab your copy at:

CarmasCookery.com/yourperfectpie

[/two_third_last]

Categories
Recipes

Chocolate Bundt Cake

There are many ways to achieve a moist, intensely chocolate Bundt cake. This recipe uses a cake mix as the basis, so it can be prepared quickly and easily.

Chocolate Bundt Cake

Ingredients

  • 1 box Devil’s Food cake mix (preferably the kind with the pudding in the mix)
  • 1 4-serving box of instant chocolate pudding mix
  • 4 eggs
  • 1 cup chocolate flavored yogurt (plain is fine as a substitute)
  • 1/2 cup vegetable oil
  • 1/2 cup water
  • 1/2 teaspoon vanilla extract

Directions

  1. Position rack in the center of the oven and preheat to 350 degrees.
  2. Grease and lightly dust the Bundt pan with flour.
  3. In a large bowl, combine ingredients in the following order: cake mix, pudding mix, eggs, yogurt, oil, water and vanilla.
  4. Using an electric mixer, beat ingredients together for two minutes at medium speed.
  5. Pour the batter into the prepared pan.
  6. Bake in preheated oven for 70 minutes or until it springs back after being touched lightly in the center.

For an even more chocolate-y experience, drizzle with a chocolate glaze. There are plenty of recipes for this kind of glaze online. This one works fairly well.

Bitter Sweet Chocolate Glaze

Ingredients

  • 3/4 cup semi-sweet chocolate chips
  • 3 Tablespoons butter
  • 1 Tablespoon heavy whipping cream
  • 1 teaspoon light corn syrup
  • 1/4 teaspoon vanilla extract

Directions

The Bundt cake should already be cooled and sitting on the serving platter before glazing.

  1. In a double boiler over hot, but not boiling water, combine chocolate chips, butter, cream, and light corn syrup. Stir until the chips are melted and the mixture is satiny smooth.
  2. Add vanilla.
  3. Remove from heat and immediately drizzle the glaze over the top of the Bundt cake, allowing the glaze to drip down the sides.

[divider]

[one_fourth] Bonkers for Bundt Cakes [/one_fourth]
[three_fourth_last] Looking for a few more Bundt cake recipes to try? Don’t have a lot of time, but want a tasty Bundt cake? Bonkers for Bundt Cakes just may be the cookbook for you. Filled with “made from cake mix” recipes, as well as a couple from scratch, this simple cookbook is sure to please. Learn more and grab your copy at www.carmascookery.com/bundtcakes.
[/three_fourth_last]

Categories
Recipes

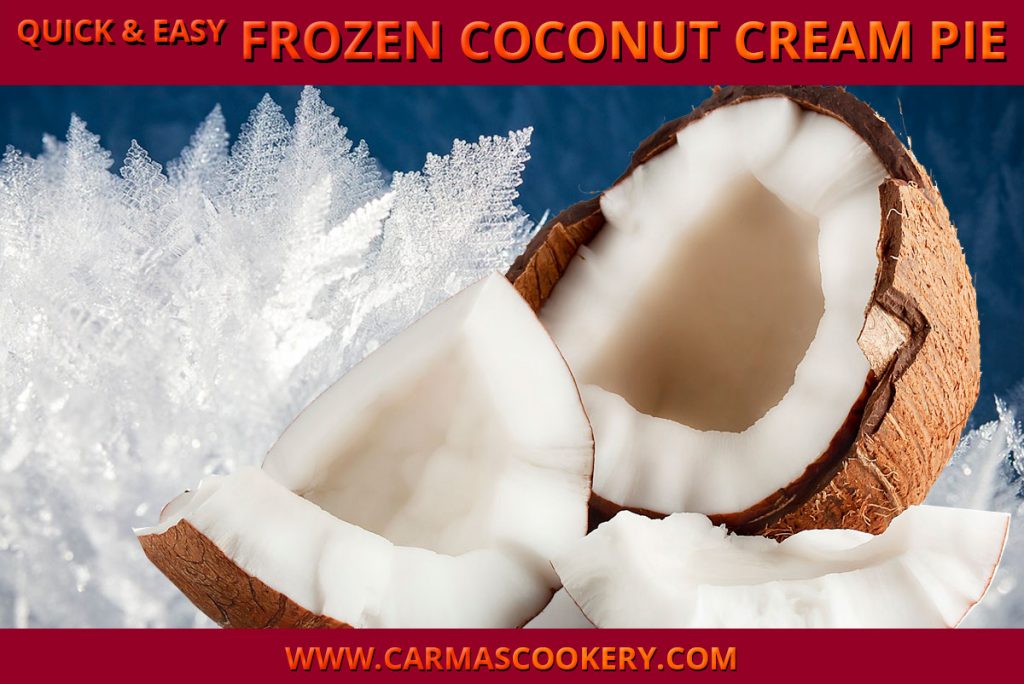
Quick & Easy Frozen Coconut Cream Pie

I’ve often been disappointed with coconut cream pies I’ve had at restaurants or purchased from a store. They just weren’t coconutty enough for me. That’s why I developed this Quick & Easy Frozen Coconut Cream Pie. If you are looking for a strong coconut flavor in your coconut cream pie, I discovered that adding coconut milk powder to the recipe does the trick without adding too much moisture. You can find it at any Asian market, as well as online. I’ve linked to some options below the recipe.

Quick & Easy Frozen Coconut Cream Pie

NOTE: Although you can keep this pie in the refrigerator, it loses its shape quickly. So store it in the freezer, but defrost for about 15 minutes before serving.

Ingredients

  • 1 (3 oz.) package cream cheese
  • 1 Tablespoon sugar
  • 2 Tablespoons coconut milk powder
  • 1/2 cup evaporated milk
  • 1-1/3 cups coconut flakes
  • 1 (8 oz.) container frozen non-dairy whipped topping, thawed*
  • 1 fully cooked pie crust

Directions

  1. In a medium bowl, beat cream cheese until soft.
  2. Beat in sugar and coconut powder.
  3. Gradually add milk, beating until smooth.
  4. Fold in coconut and whipped topping.
  5. Spoon into crust and freeze until firm — at least four hours.
  6. Let sit at room temperature for 15 minutes before serving.
  7. Store any leftovers in the freezer.

* If you’d rather not used whipped topping, you can use real whipped cream. Simply beat some heavy whipping cream in a cold bowl until stiff peaks form, and use that instead.

This recipe was excerpted from Your Perfect Pie.

[divider]


[divider]

[one_third] [/one_third]
[two_third_last]

Looking for a few more pie recipes to try?

Do you want to create your perfect, signature pie, but just can’t find the right recipe? Your Perfect Pie may just be the cookbook for you!

Breaking down the mystique of homemade pie into modules you can mix and match, this simple cookbook is sure to please. Learn more and grab your copy at:

CarmasCookery.com/yourperfectpie

[/two_third_last]

Categories
Recipes

Sweet Potato and Avocado Breakfast “Toast”

This hearty and satisfying breakfast recipe will get your day off to a great start. Although it can be prepared in 30 minutes, you can save even more time on busy weekday mornings by roasting a large batch of sliced sweet potatoes ahead of time. Simply store the pre-cooked slices in the refrigerator in an airtight container, and then pop them under the broiler or in a toaster oven to warm through before serving.

Sweet Potato and Avocado Breakfast “Toast”

Ingredients

  • 1-2 medium sweet potatoes, sliced ¼” thick (8 slices total)
  • 2 Tablespoons extra virgin olive oil, divided
  • 8 large eggs
  • 2 ripe avocadoes
  • 1 medium tomato, seeded and diced
  • 1/2 cup fresh cilantro, chopped
  • 3 Tablespoon fresh lime juice
  • Sea salt and black pepper, to taste
  • Smoked paprika, for garnish (optional)

Directions

  1. Preheat oven to 425 degrees F and place a wire rack inside a large, rimmed baking sheet. Spray rack with non-stick cooking spray and set aside.
  2. While the oven is heating, mash the avocadoes in a medium bowl with a fork. Add tomatoes, cilantro, and lime juice. Season with salt and back pepper, to taste, and stir to combine. Set aside.
  3. Arrange the sweet potato slices on the prepared wire rack and place in the preheated oven for 15-20 minutes or until slices are fork-tender, turning once halfway through cooking. Remove from oven and set aside.
  4. While the sweet potato slices are cooking, heat half the olive oil in a large non-stick sauté pan over medium-low heat. Add 4 eggs and season with salt and black pepper, to taste.
  5. Cover the pan and cook until the whites are set and the yolks are done to the desired consistency, around 3-5 minutes. Remove lid and transfer eggs to a plate and keep warm. Repeat with the remaining 4 eggs.
  6. To serve, top each sweet potato slice with a spoonful of fresh guacamole and a warm sunny-side-up egg. Sprinkle with smoked paprika, if desired.

Carma's Cookery Creative Cooking Tips

  • Don’t like your eggs sunny side up? Try this recipe with your eggs over hard, scrambled or even poached.
  • Like your guacamole spicey? Add in some red pepper flakes.
  • Avocados not in season? Use store-bought guacamole. I’ve found that the frozen varieties often taste better than the refrigerated ones.
Categories
Recipes

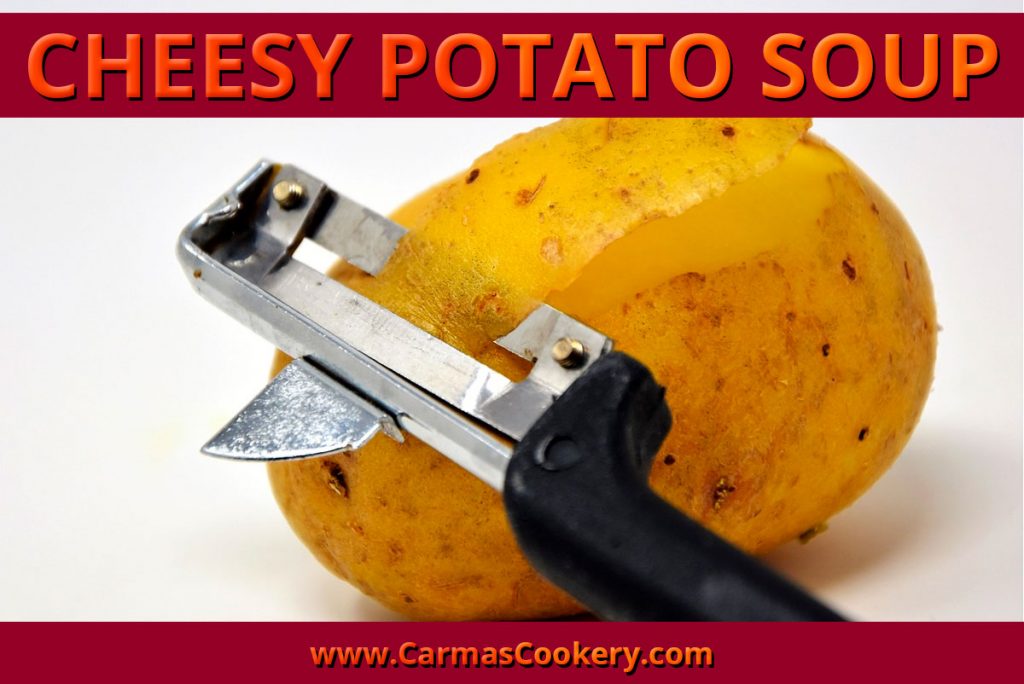
Cheesy Potato Soup

On a cold winter day, nothing warms a body like a fresh pot of soup. And, of course, nothing warms the home cook’s heart like an easy dish to prepare! This delicious homemade soup makes everyone happy. You can put it in a slow cooker to simmer all day or wait until dinner time and whip it up in a hurry.

Cheesy Potato Soup

Ingredients:

  • 1 package center cut bacon
  • 1 large or 2 small Vidalia onions
  • 8 medium potatoes
  • 1/8 cup all-purpose flour
  • 1 (12 oz.) can evaporated milk
  • 1 Tablespoon seasoned salt
  • 1 Tablespoon black pepper
  • 8 oz soft, shreded cheese (Monterey Jack or Colby are good options)
  • Shreded cheddar cheese for garnish

Stove-Top Preparation

  1. Heat a large pot on the stove over medium heat. As the pot is heating, cut the bacon into bite-size pieces. Once the pot is hot, add the bacon pieces, stirring often until brown.
  2. While the bacon is cooking, peel and chop the onion and potatoes. Make sure your potatoes are cut into bite-size pieces. Set aside for later use.
  3. Once the bacon is crispy, put some on a paper towel to use as a garnish later. Then add the onions and stir. Let onions cook for approximately two minutes until they are semi-translucent and tender, not fried to a crisp.
  4. When the onions are tender, add flour and mix until the grease is absorbed; making a paste. If your bacon made a lot of grease, you may want to drain some of it off before adding the flour.
  5. Pour the potatoes into the pot with the bacon, onion, and flour. Add just enough hot water to cover the potatoes.
  6. Next, pour in evaporated milk. Add the seasoned salt and pepper and give it a good stir.
  7. Add cheese to the pot, and bring to a simmer, stirring until the cheese is fully melted and incorporated into the soup.
  8. Let the soup simmer, uncovered, for 10-20 minutes or until potatoes are tender. Adjust the seasonings to taste.
  9. To garnish, sprinkle some shredded cheese and the set-aside bacon over the top of each bowl before serving.

Slow Cooker Preparation

  1. Heat a large pan on the stove over medium heat. As the pot is heating, cut the bacon into bite-size pieces. Once the pot is hot, add the bacon pieces, stirring often until brown.
  2. While the bacon is cooking, peel and chop the onion and potatoes. Make sure your potatoes are cut into bite-size pieces. Set onions aside and put potatoes into the slow cooker.
  3. Once the bacon is crispy, put some on a paper towel to use as a garnish later. Then add the onions and stir. Let onions cook for approximately two minutes until they are semi-translucent and tender, not fried to a crisp.
  4. When the onions are tender, add flour and mix until the grease is absorbed; making a paste. If your bacon made a lot of grease, you may want to drain some of it off before adding the flour.
  5. Add the bacon-onion paste to the slow cooker. Add just enough hot water to cover the potatoes.
  6. Add evaporated milk, seasoned salt, pepper, and cheese. Stir to combine. Cook on LOW for 6 to 8 hours, until potatoes are tender. Adjust the seasonings to taste.
  7. To garnish, sprinkle some shredded cheese and the set-aside bacon over the top of each bowl before serving.

Carma's Cookery Creative Cooking Tips

  • Add more punch to your soup by using the Pepper Jack or sharp cheddar.
  • Change the toppings in each person’s bowl to make this recipe their own. You might try spinach and onions or tomatoes and croutons and the kids will like extra bacon.
  • Serve the soup without a garnish and have a “toppings” bar with an array of optional toppings, such as bacon, chopped scallions, sour cream, croutons, shredded cheeses, chopped tomatoes, chopped spinach, lemon pepper, garlic pepper, etc.
Categories
Recipes

Orange, Asparagus, and Avocado Salad

This Spanish salad recipe, provided by Amy Riolo comes from The Mediterranean Diabetes Cookbook, 2nd Edition: A Flavorful, Heart-Healthy Approach to Cooking, is both gluten-free and vegan.

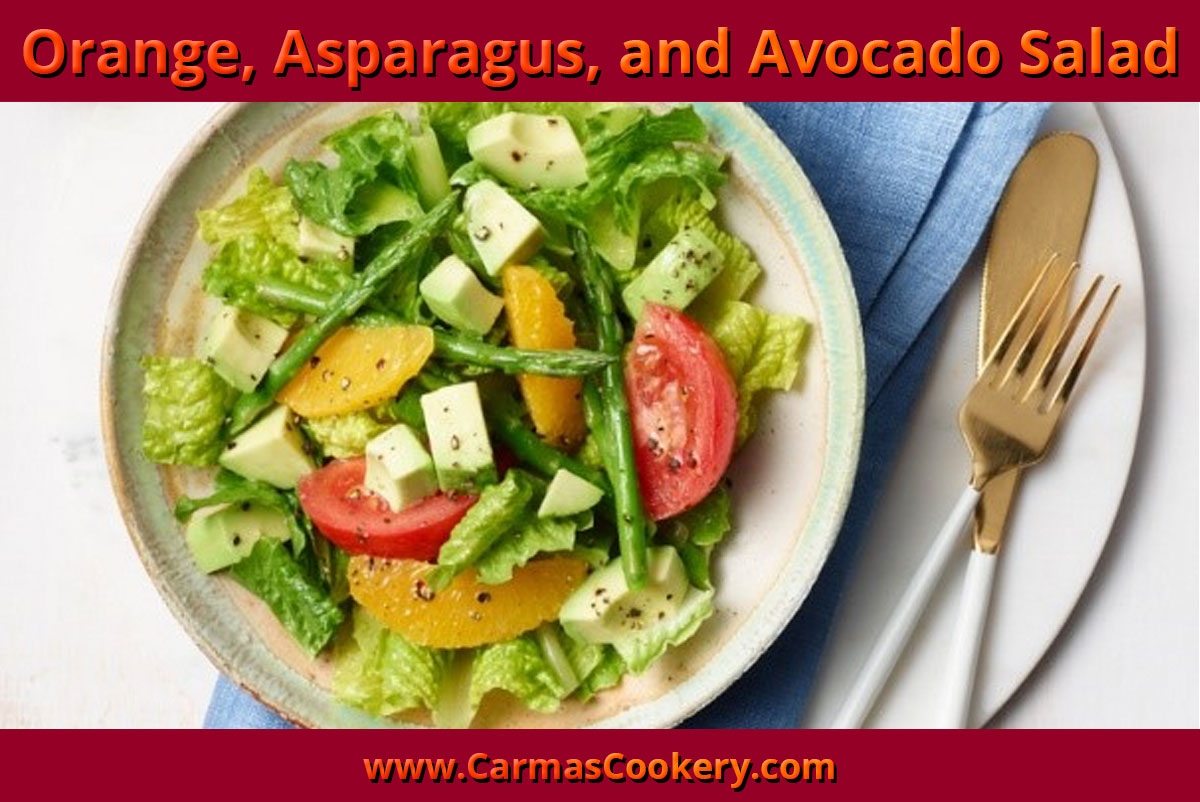
Orange, Asparagus and Avocado Salad

Serves: 6 | Serving Size: 1 cup | Prep Time: 5 minutes | Cook Time: 10 minutes

Ingredients

  • 1 bunch fresh asparagus, trimmed (about 8 oz)
  • 4 oz romaine lettuce, cut into bite-size pieces
  • 1 large orange, trimmed and cut into segments
  • 1 large ripe tomato, cut into 12 equal pieces
  • 1 ripe avocado, pitted, peeled, and diced
  • 2 Tbsp extra-virgin olive oil
  • 1 Tbsp red wine vinegar
  • 1/4 tsp kosher salt
  • 1/4 tsp freshly ground black pepper

Directions

  1. Place asparagus in a pot of boiling water over high heat. Reduce heat to low and simmer until asparagus is tender, about 10 minutes. Drain asparagus and submerge immediately in a bowl of ice water.
  2. Divide lettuce evenly among six salad bowls or plates.
  3. Combine orange, tomato, and avocado in a medium bowl.
  4. In a small bowl, whisk together olive oil, vinegar, salt, and pepper until combined.
  5. Drain asparagus and add to orange mixture. Pour dressing over orange mixture and stir gently to combine. Spoon mixture on top of romaine lettuce on plates and serve.

Notes

Choices/Exchanges
1/2 Starch, 1 Nonstarchy Vegetable, 1 1/2 Fat

[one_third] Calories 110
Calories from fat 70
Total fat 8.0 g
Saturated fat 1.2 g
Trans fat 0.0 g [/one_third]
[one_third] Cholesterol 0 mg
Sodium 90 mg
Potassium 370 mg
Total carbohydrate 9 g [/one_third]
[one_third_last] Dietary fiber 4 g
Sugars 4 g
Protein 2 g
Phosphorus 45 mg [/one_third_last]

[divider]

A graduate of Cornell University, Amy Riolo is considered a culinary thought leader who enjoys changing the way we think about food and the people who create it. Amy is a food historian, culinary anthropologist, and Mediterranean Diet advocate who makes frequent appearances on numerous television and radio programs both in the United States and abroad, including FOX TV, ABC, CBS, NBC, the Hallmark Channel, Nile TV, the Travel Channel, Martha Stewart Living Radio, and Abu Dhabi Television.

For more information about Amy, please visit www.amyriolo.com.

The owner of this website has made a commitment to accessibility and inclusion, please report any problems that you encounter using the contact form on this website. This site uses the WP ADA Compliance Check plugin to enhance accessibility.