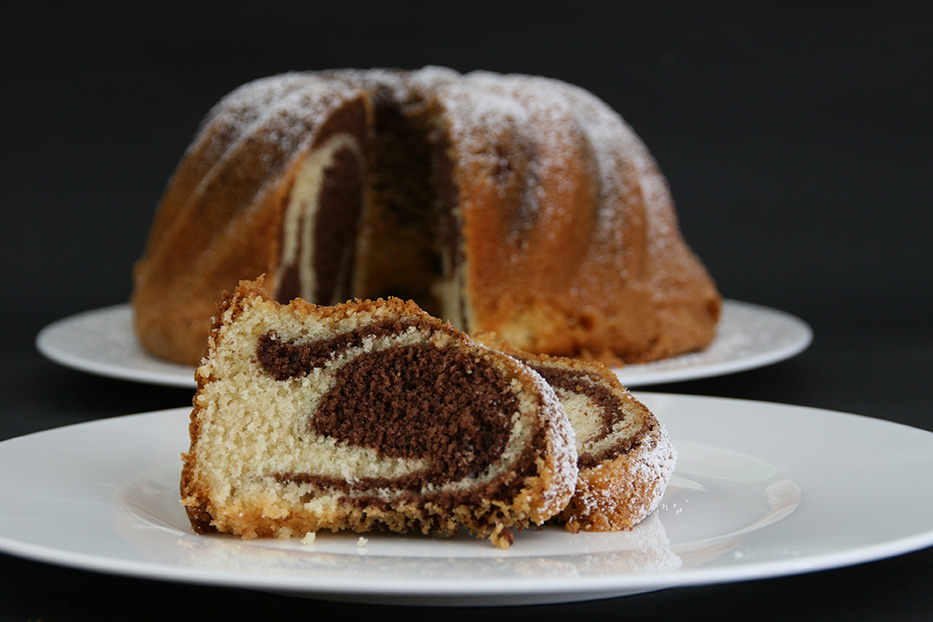
Looking for a delicious snack to satisfy your sweet tooth? Look no further than these decadent chocolate hazelnut truffles. The best part? Dates and a touch of maple syrup add just enough sweetness without adding any refined sugar.
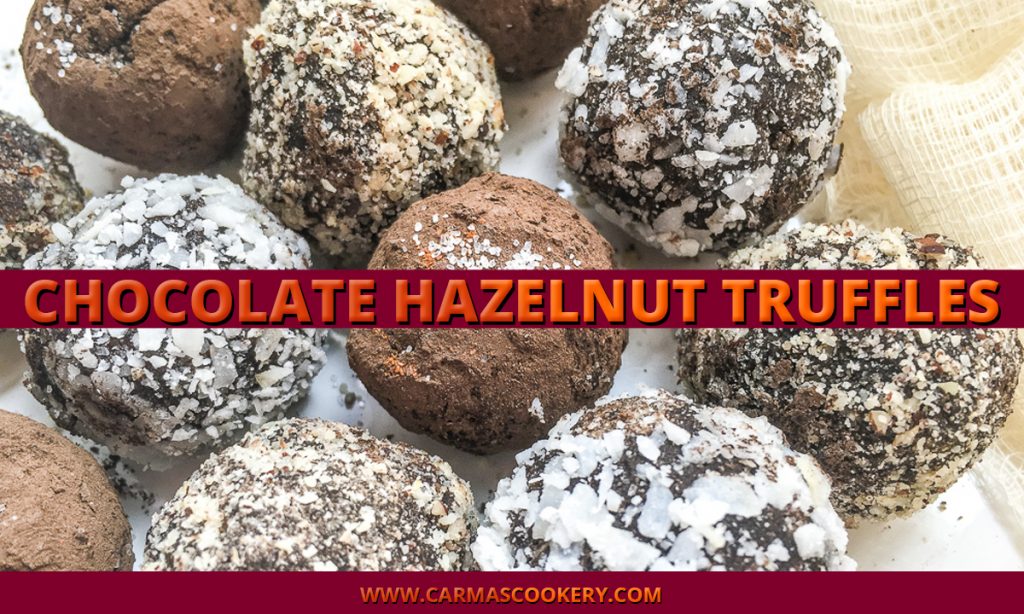
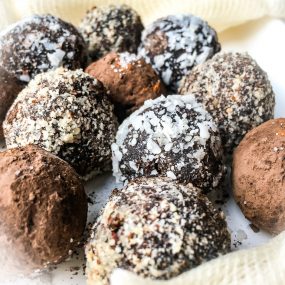
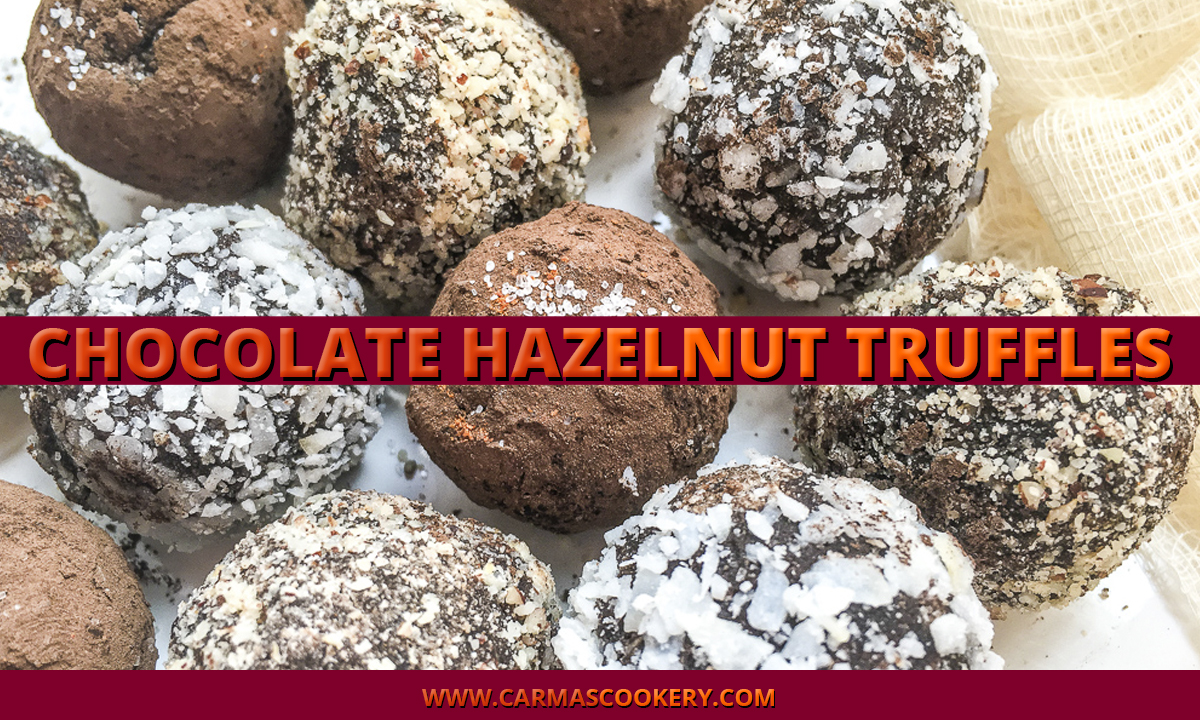
Chocolate Hazelnut Truffles
Quick and easy truffles with no added refined sugar.
Equipment
- Food Processor
Ingredients
- ½ cup raw hazelnuts
- 12 Medjool dates, pitted
- 2 Tablespoons cocoa powder, unsweetened
- 2 Tablespoons coconut flour
- 1 Tablespoon coconut oil, melted
- 1 ½ Tablespoon pure maple syrup
- 1 teaspoon pure vanilla extract
- ¼ teaspoon coarse salt
Optional Coatings
- ¼ cup hazelnuts or almonds, ground
- ¼ cup coconut flakes, finely shredded
- 2 Tablespoons unsweetened cocoa powder
Instructions
Pre-Preparation
- In a small bowl filled with warm water, place pitted dates. Set aside to soak for 10-15 minutes.
- Line a rimmed baking sheet with wax paper and set aside.
- Pour each selected coating, if using, onto a separate shallow, rimmed plate and set aside.
Preparation
- Add hazelnuts to a food processor and process until finely ground.
- Remove the softened dates from bowl and drain off any excess water. Add dates and cocoa powder to food processor and blend until smooth, approximately 3-4 minutes. Scrape the sides, as necessary, to ensure mixture is thoroughly combined. Tip: Add a few drops of water at a time, if necessary, to achieve a smooth consistency, but don’t add too much.
- Add coconut flour, coconut oil, maple syrup, vanilla extract, and salt to the mixture and process until combined.
- Remove the dough from the food processor and divide into 15-18 equal-sized portions. Roll each section of dough into a ball before rolling in the selected coatings.
- Once coated, place on prepared baking tray and place in the refrigerator to chill for several minutes before serving.

These truffles are great as is, but why not have fun with them any way? Here are some ideas.
- Give them a Halloween twist by using orange, black and purple colored sugar as your coatings. Or, if you’re patient enough, turn theem into little Jack-o-Lanterns by coating then in orange icing and use a stencil to create the face using black sugar crystals or icing.
- Dress them up for Thanksgiving by turning them into turkeys! Add a tail and head made of paper and the truffle becomes the body of the turkey.
- Dress them up for December holidays by using colored sugar crystals appropriate for the holiday you celebrate.
- Experiment with flavors by using almonds, peanuts or pistachios insead of hazelnuts.
By unleashing a little creativity, you can take this simple truffle recipe and make it your own.


 INGREDIENTS
 CARMA’S TWEAKS, TIPS & SUGGESTIONS
 [/one_third]