Categories
Creative Cookery Recipes

3 Favorite Fall Vegetables

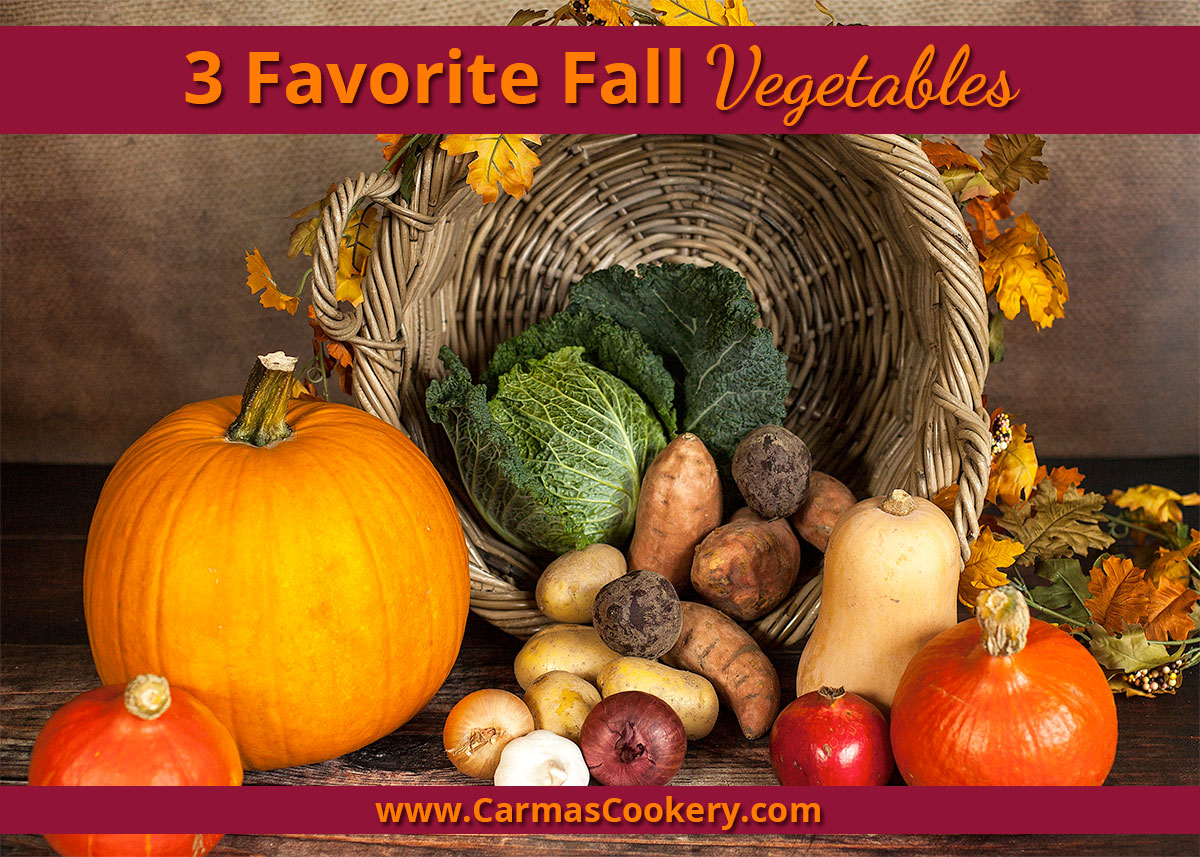
Buying seasonal produce is a good choice for staying healthy and fall is the time to start enjoying more vegetables. Autumn is the time of year for hearty meals that warm up your body, such as soups, stews, and casseroles, all of which taste their best with more vegetables. Not sure which fall vegetables you’ll enjoy? You might be surprised. Here are some fall produce favorites you can enjoy.

Fall vegetables

Carrots

carrots
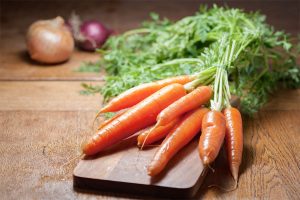
Carrots are sometimes referred to as a spring vegetable, though they are often available in the fall as well. They also go great with many of your favorite fall recipes such as soup, stew, and casseroles.

You can even eat them raw, adding carrots to your salads or just enjoying them as a snack with ranch or hummus dip.

Roasting carrots is another great option, which just requires a little olive oil, your favorite seasonings, and an oven.

Roasted Carrots

Ingredients

  • 12 Carrots
  • 3 Tbsp olive oil
  • 2 Tbsp (total) dried herbs of your choice, such as oregano, thyme, sage, margoram. (An herb blend such as Italian Herbs works well, too.)
  • Pinch salt
  • Pinch black pepper

Directions

  1. Preheat oven to 400 degrees F.
  2. Skin carrots and slice into 1-2 inch peices.
  3. In a bowl, toss carrots with oil, herbs, salt and pepper.
  4. Spread out on a sheet pan and roast at for 20 minutes, until browned and tender.

Butternut Squash

butternut squashThere are a lot of different types of squashes that are popular in the fall, though you can’t go wrong with a nice butternut squash. It is low in fat and calories, has a lot of nutrients, and has a creamy texture that is perfect for soup.

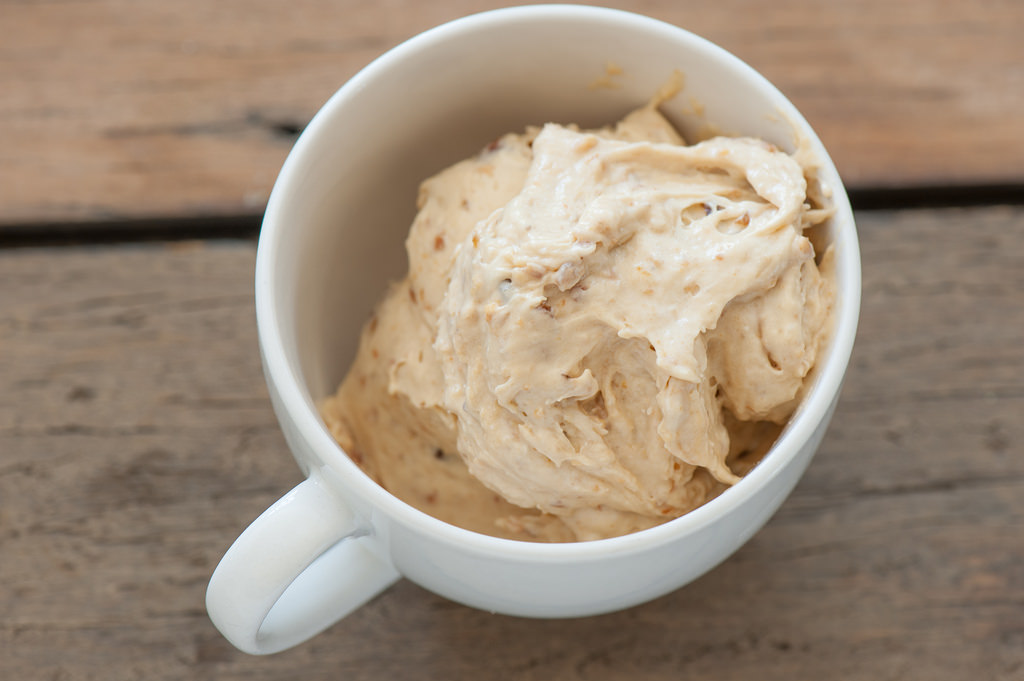
In fact, it is commonly turned into butternut squash soup that you can serve on its own or with your choice of bread or crackers. A dollop of sour cream is nice, too.

You can also steam or roast the butternut squash and enjoy with butter, cheese, or pasta.
If you’re not sure what else butternut squash can be added to — try soups you’re making. Even if it doesn’t include them, but includes other vegetables. Cut up some squash and add it. You’ll be surprised what a treat this can be in the soup.

Because butternut squash and pumpkin are very similar in flavor and color, they an be interchanged without modification of the recipes.

Sweet Potatoes and Yams

sweet potatoe or yamDon’t forget about your sweet potatoes and yams! These are a sweeter and lower fat versions of white potatoes, as well as being lower in carbohydrates.

Sweet potatoes have so many different uses, from making a healthier French fries or mashed potatoes for frying them, roasting them and boiling them.

More Fall Vegetables

These fall vegetables are great to have but are by no means all the ones you should consider. Some other excellent fall vegetables to enjoy include broccoli, cauliflower, zucchini, acorn squash and pumpkin.

In fact, pumpkin can also replace certain ingredients in your baked dishes to make them lower fat, including cakes and cupcakes.

The great thing about these vegetables is the fact that all of them can be used as a vegetable for any of your dinners. So if you want to introduce them to your family that is one way to do it. Or you can find a recipe that highlights one of these fall vegetables and you’ll be hooked on using them. These fall vegetables work amazingly for either option.

Categories
Recipes

Simple Chocolate Cake

Simple Chocolate Cake
A simple chocolate cake to make tea time more fun for you and your guests!

Serves: 6-8 people
Cake Recipe and Photo Source: Chococraft
Frosting/Filling Recipe: Developed by Carma Spence from a variety of sources

Ingredients

Cake

  • 4 oz plain chocolate, chopped into small pieces
  • 3 Tbsp milk
  • 1/2 cup unsalted butter or margarine, softened
  • Scant 1 cup light muscovado sugar*
  • 3 eggs
  • 1-3/4cups self–raising flour
  • 1 Tbsp cocoa powder
  • 1 quantity Chocolate Buttercream, for the filling
  • Icing sugar and cocoa powder, for dusting

Chocolate Buttercream

  • 1 cup unsalted butter, softened (but not melted!)
  • 3-1/2 cups powdered sugar
  • 1/2 cup cocoa powder
  • 2 tsp vanilla extract
  • 4 Tbsp heavy cream

Directions

Cake

  1. Preheat oven to 350 degrees F. Grease two 7 in round sandwich cake tins and line the base of each with non-stick parchment baking paper.
  2. Place the chocolate and the milk in the top pot of a double boiler**. Put water in the bottom pot and bring to just below the simmering point. Place the pot containing the chocolate mixture on top. Leave for about 5 minutes, until the chocolate softens, then stir until smooth. Leave the top pot over the bottom pot, but remove from the heat.
  3. Cream the butter or margarine with the sugar in a mixing bowl until pale and fluffy. Add the eggs one at a time, beating well after each addition. Stir in the chocolate mixture until well combined.
  4. Sift the flour and cocoa over the mixture and fold in with a metal spoon until evenly mixed. Scrape into the prepared tins, smooth level and bake for 35-40 minutes or until well risen and firm. Turn out on to wire racks to cool.
  5. Sandwich the cake layers together with a thick, even layer of chocolate buttercream. Dust with a mixture of icing sugar and cocoa just before serving.

Chocolate Buttercream

  1. Cream butter for a few minutes in a mixer with the paddle attachment on medium speed. Turn off the mixer.
  2. Sift 3 cups powdered sugar and cocoa into the mixing bowl. Turn the mixer on at the lowest speed (this helps prevent the dry ingredients from blowing all over you and your kitchen) until the sugar and cocoa are absorbed by the butter.
  3. Increase the mixer speed to medium and add vanilla extract and cream.
  4. Beat for 3 minutes.
  5. If you prefer your frosting/filling to be stiffer, add a little more powdered sugar. If you want your frosting/filling to be thinner, add additional cream, 1 Tbsp at a time.

Notes

* Muscovado sugar is a type of partially refined to unrefined sugar with a strong molasses content and flavor. It contains higher levels of various minerals than processed white sugar, and is considered by some to be healthier.

**If you don’t have a double boiler, you can use a small saucepan and a heatproof bowl that will fit over it.

Make sure your kitchen is well-equped for baking. Read Basic Baking Equipment

You can find more great recipes and product reviews from our friends at the Village Bakery.


Categories
Recipes

5 Smoothies and Juices That Will Kill Your Chocolate Craving

One of the reasons we crave chocolate is that when we eat it, serotonin, a neurotransmitter responsible for better sleep and moods, floods our brain. This helps reduce anxiety and increases our sense of well-being. But if you suspect your chocolate intake is a little too excessive, this same relaxing and rejuvenating brain bath can also be accomplished by drinking juices and smoothies.

By consuming smoothies and juices you will provide your body with an abundance of vitamins, minerals, and enzymes while at the same time satisfying your taste buds so, maybe then, you won’t need so much chocolate.

Juices and smoothies made with fresh, ripe fruits and vegetables are so satisfying and can be made in unlimited combinations. There is a smoothie or juice to please every member of the family. There is so much to learn and discover about this new way of life. Just get yourself a high-speed blender and a juicer and you’ll be ready to begin.

Juicing Is Easy

You don’t have to buy the most expensive juicer to make delicious and nutritious juices. Even the most basic model will work. And the clean-up is simple and fast. A lot easier than cleaning up after cooking! Here is one simple and spectacular juice that I love.

oranges make great juices

Mother Nature’S Orange Julius

Peel only the orange rind from navel oranges. Leave the pith (the white stuff around the orange) as it will make the juice delicious and frothy. Place the oranges in your juicer and within seconds you will have a glass of the most refreshing orange juice ever.

This next juice combination I learned from watching, “Fat, Sick and Nearly Dead” with Joe Cross. His website is a treasure trove of information about juicing and its benefits and contains hundreds of delicious recipes.

World Famous Green Juice

  • One bunch of Kale
  • One large stalk of celery (4-6 ribs)
  • One large cucumber (it’s okay to leave it unpeeled)
  • 3-4 apples cut into quarters
  • One lemon peeled but with the pith left on
  • One chunk of fresh ginger (about the size of your thumb)

Juice together and drink. It is somewhat of an acquired taste so try it a few more times until you can feel the energy of the veggies zipping through your body and brain.

A high-speed blender is another fantastic kitchen appliance and a wise investment in your family’s health. Blending together different combinations of fruits and vegetables is a never-ending adventure. For my family, when it’s really hot outside, sometimes a smoothie is all the meal we need. You know the exact ingredients that will please your family so keep experimenting and have fun. Here are two of my favorite smoothies:

Sunshine Smoothie

  • Frozen bananas broken into small chunks
  • Frozen or fresh pineapple pieces
  • Frozen or fresh mango chunks

Add orange juice, coconut water or plain water until you get a creamy consistency.

Blend for about 30 seconds on high and enjoy!

add pineapple to your blended juices

Purple Pineapple Smoothie

  • One cup frozen pineapple chunks
  • One cup frozen blueberries
  • Cover with apple juice

Blend on high speed for 30 seconds.

(If you like it a little sweeter you can add a tablespoon or two of agave and blend quickly again.) Yum!

And Now… Chocolate!

Chocolate is one of the most famous foods on the planet. All around the world it is loved and coveted by millions of people. Having a craving for chocolate is practically universal. So let’s make a Chocolate Banana Smoothie!

Chocolate Banana Smoothie

Place in your high-speed blender:

  • Two frozen bananas broken into pieces
  • One teaspoon vanilla extract or vanilla powder
  • Four pitted dates or 2 T. maple syrup or 2 T. agave
  • 3 T. unsweetened cocoa powder

Cover all ingredients with your favorite milk and blend until smooth.

Voila, a fabulous, satisfying, chocolate creation that your body will love. Whip it up and relax and read while drinking your smoothie. You deserve it! And in my opinion, life doesn’t get much better than this.

About the Author

KatrinaKatrina is on the content team at www.householdappliancejudge.com. She can be found around the web writing about health, nutrition, relationships, family and other lifestyle concerns. Katrina enjoys cooking, comedy and spending time with her adorable (but exhausting) young family.


Categories
Recipes

Crunchy Peanut Butter and Banana Ice Cream

Want to make ice cream without the dairy? Try this one made from frozen banana. The peanut butter gives this banana ice cream texture and flavor.

Crunchy Peanut Butter and Banana Ice Cream

Ingredients for Crunchy Peanut Butter and Banana Ice Cream

  • 4 large very ripe bananas
  • 2 Tbsp peanut butter
  • 1 Tbsp crushed banana chips
  • 1 Tbsp chopped peanuts
  • 1 Tbsp small dark chocolate chips (optional)

Directions

  1. Peel bananas and slice into 1/2 inch discs. Arrange them in a single layer on a large plate or baking sheet. Freeze for 1-2 hours.
  2. Place the banana slices in a food processor or powerful blender. Puree them until the mixture is creamy and smooth, scraping down the bowl as needed. Add the peanut butter and puree to combine.
  3. Add in banana chips, peanuts and chocolate chips (if using). Blend until just mixed.
  4. Serve immediately for soft-serve ice cream consistency. If you prefer harder ice cream, place in the freezer for a few hours and then serve.

Note: If you have a hard time creating a creamy consistency, you can add 1-2 Tbsp of almond or coconut milk to help puree the banana slices. Make sure you use a powerful food processor or blender! I recommend the Vitamix.

Carma's Cookery Creative Cooking Tips

Don’t like peanut butter, you can make this banana ice cream your own with these suggestions:

  • Use almond butter, sunflower seed butter, or any other nut or seed butter of your choice instead of the peanut butter.
  • Use some other type of nuts or seeds instead of the peanuts.
  • Try different kinds of chips instead of chocolate chips. I suggest peanut butter chips or butterscotch chips.

[divider]

[one_third] Healthy Eating Worksheet [/one_third]
[two_third_last]

Take Charge of Your Health!

Changing your eating habits can be tough. But it doesn’t have to be if you take a little time to think it out and create a plan.

This Healthy Eating Worksheet will walk you through the process of creating a healthy eating plan. All you need to do is print it out, set aside some time to complete it, and then fill it out. Then you can create your plan, knowing that you have addressed potential obstacles and came up with some creative ways to handle them.

Download Now [/two_third_last]

Categories
Recipes

Light and Healthy Chocolate Pie

Love chocolate but don’t want all the sugar and calories? Try this light and relatively healthy chocolate pie recipe.

Chocolate Pie healthy desser?
Source

Ingredients for Light and Healthy Chocolate Pie

Crust

  • Cooking spray
  • 40 graham crackers (10 full cracker sheets)
  • 2 Tbsp Splenda (or 3 packets)
  • 2 Tbsp butter, melted
  • 1 large egg white

Filling:

  • 2 cups fat-free milk, divided
  • 2/3 cup Splenda (or 16 packets)
  • 1/3 cup unsweetened cocoa
  • 3 Tbsp cornstarch
  • 1/8 tsp salt
  • 1 large egg
  • 2 ounces dark (70% or more) chocolate, chopped
  • 1 tsp vanilla extract
  • 1 1/2 cups frozen reduced-calorie whipped topping, thawed
  • 3/4 tsp grated dark (70% or more) chocolate

Directions

Crust

  1. Preheat oven to 350 degrees.
  2. Spray 9-inch pie plate with cooking spray.
  3. To prepare crust, place crackers in a food processor; process until crumbly. Or, alternatively, place them in a sealed bag and crush them with a rolling pin.
  4. If using a food processor, add Splenda, butter, and egg white; then pulse 6 times or just until moist. If you crushed the crackers in a bag, put them in a bowl and add the Splenda, butter and egg white. Mix until just moist.
  5. Press crumb mixture into the prepared pie plate. Bake for 8 minutes; cool on a wire rack 15 minutes.

Filling:

  1. In a large bowl, combine 1/2 cup milk, Splenda, unsweetened cocoa, cornstarch, salt and egg. Stir with a whisk.
  2. In a heavy saucepan, heat 1 1/2 cups milk over medium-high heat until tiny bubbles form around edge (do not boil). Remove from heat.
  3. Gradually add hot milk to Splenda mixture, stirring constantly with a whisk. Return milk mixture to pan.
  4. Add chopped chocolate; cook over medium heat until thick and bubbly (about 5 minutes), stirring constantly.
  5. Reduce heat to low; cook 2 minutes, stirring constantly.
  6. Remove from heat and stir in vanilla.
  7. Pour into prepared crust.
  8. Cover the surface of filling with plastic wrap and chill for about 3 hours. Remove plastic wrap; spread whipped topping evenly over filling.
  9. Garnish with grated chocolate.

[divider]

[one_third] [/one_third]
[two_third_last]

Looking for a few more pie recipes to try?

Do you want to create your perfect, signature pie, but just can’t find the right recipe? Your Perfect Pie may just be the cookbook for you!

Breaking down the mystique of homemade pie into modules you can mix and match, this simple cookbook is sure to please. Learn more and grab your copy at:

CarmasCookery.com/yourperfectpie

[/two_third_last]

Categories
Recipes

New Orleans Wine Sauced Chicken

New Orleans Wine Sauced Chicken
New Orleans Wine Sauced Chicken shown here with a trinity of roasted herbed potatos (red potato, sweet potato and yam).

Ingredients:

  • 4 chicken breast fillets
  • 6 Tbsp all-purpose flour
  • 3⁄4 tsp salt
  • 1⁄4 tsp black pepper
  • 1⁄4 tsp paprika
  • 4 Tbsp unsalted butter
  • 3⁄4 cup white wine (you may substitute water)
  • 1 tsp chicken bouillon
  • 1⁄4 tsp poultry seasoning
  • 1 bay leaf
  • 1 3⁄4 cups sliced mushrooms
  • 1⁄2 cup diced onion
  • 3⁄4 cup diced celery
  • 1⁄2 cup grated carrot
  • 1⁄2 cup sour cream
  • chopped parsley, for garnish

Directions:

  1. Rinse chicken and pat dry.
  2. In a shallow dish or pie plate, mix together flour, salt, pepper and paprika. Dredge chicken breasts in this mixture. (Keep the flour mixture, too!)
  3. In a large frying pan, melt 2 Tbsp butter until bubbly. Brown the chicken breasts on both sides in pan. Set aside on a dish.
  4. Add remaining butter to the pan and melt. Stir in reserved flour mixture until smooth. Add wine (or water). Stir until smooth.
  5. Stir in chicken bouillon, poultry seasoning, bay leaf, mushrooms, onions, carrots and celery.
  6. Add chicken breasts. Cover and simmer for 20 to 25 minutes. Remove chicken to plate.
  7. Stir sour cream into pan and cook until just heated through.
  8. Pour sauce over chicken. Garnish with parsley. Serve.

Source: This recipe was adapted from Great American Recipes

Categories
Recipes

Deviled Eggs Deluxe

Deviled eggs are the quintessential potluck food. Honestly, they’re so popular they’re known by many names: stuffed eggs, angel eggs, eggs mimosa, Russian eggs, dressed eggs, and picnic eggs. According to Wikipedia, the deviled egg goes as far back as ancient Rome, where they were traditionally served as a first course.

No matter the event, there is always someone who will bring a tray of them. And they disappear quickly! Here’s my take on this classic dish.

Deviled Eggs

Ingredients

  • 1 doz. large boiled eggs, cut in half, lengthwise
  • 1/2 cup mayonnaise
  • 1/4 red onion, chopped finely
  • 1 Tablespoon yellow mustard
  • 1/4 tsp onion powder
  • 1/4 tsp garlic powder
  • salt & pepper to taste
  • paprika

Directions for Deviled Eggs Deluxe

  1. Scoop out egg yolks into a large bowl and mash with a fork.
  2. Add remaining ingredients and mix until well incorporated.
  3. Spoon or pipe the egg yolk mixture into the egg whites and sprinkle with paprika.

Variations & Ideas

  • Sprinkle with some diced green onion.
  • arnish with chopped cilantro or parsley.
  • Replace mayonnaise with sour cream.
  • Use 1/4 cup mayonnaise and 1/4 cup whipped cream cheese.


Planning an Easter Meal at Home?

Easy Easter at Home
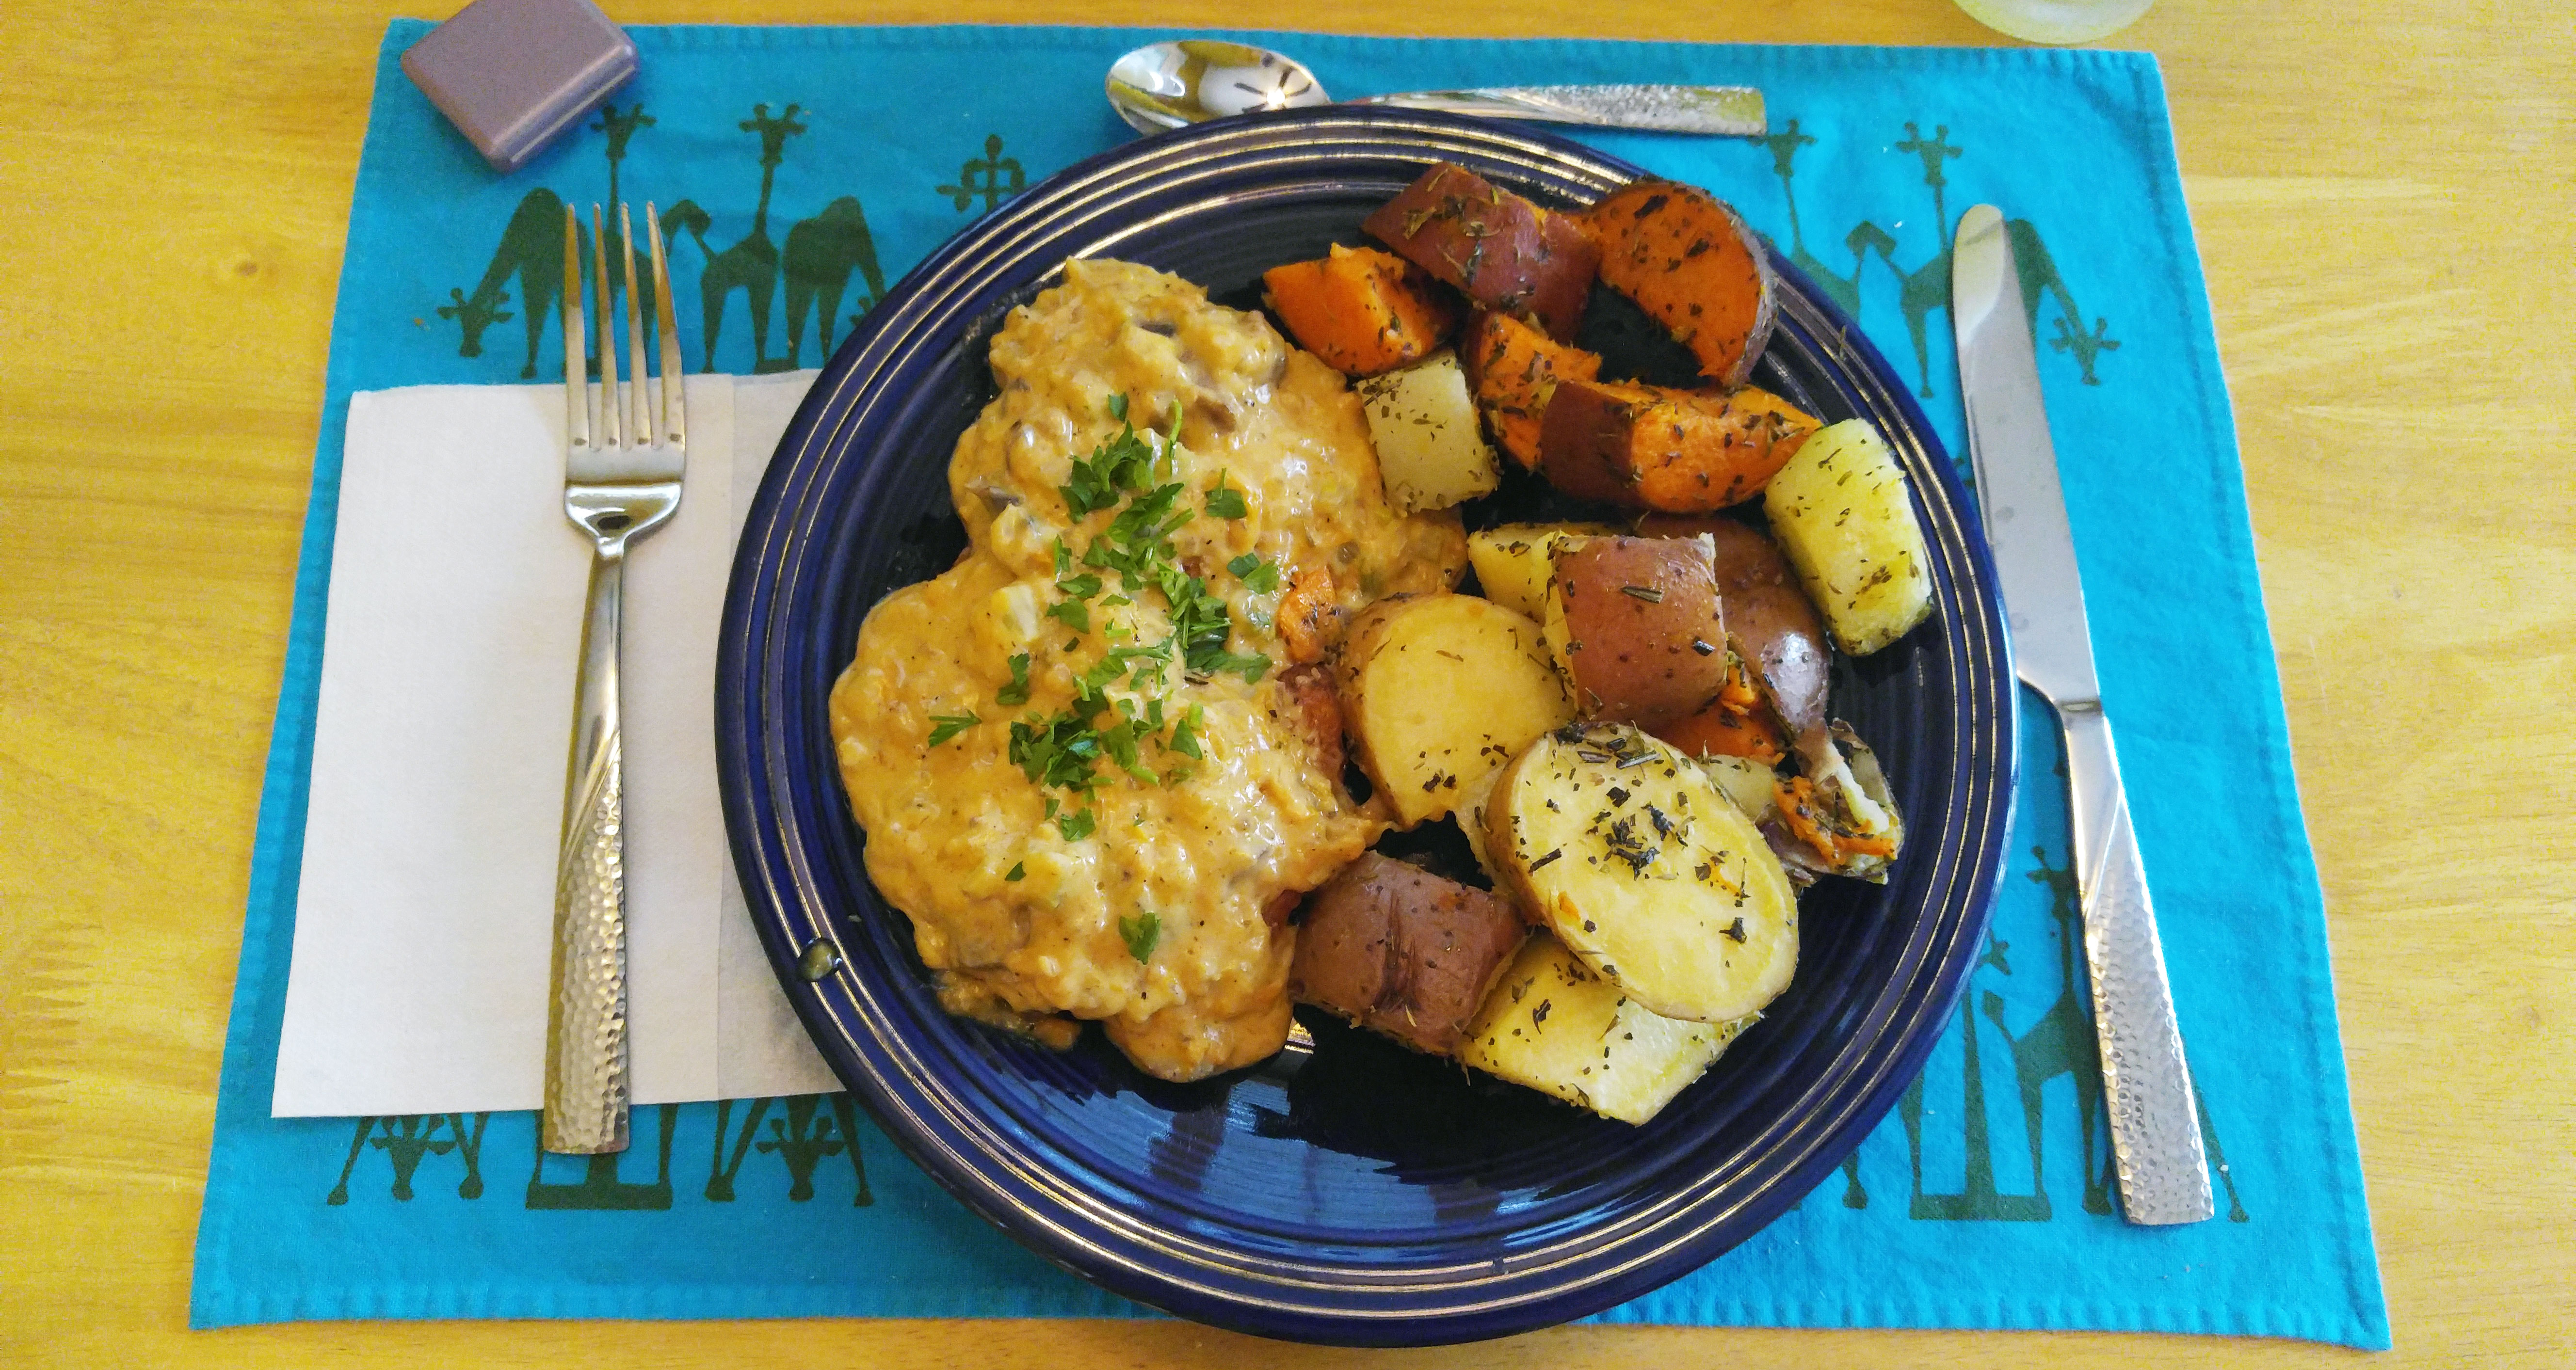
Make it a relaxing, easy event with the tips, suggestions and recipes included in Easy Easter at Home, Carma’s Cookery’s latest report. Take a sneak peak at the Table of Contents, then grab a copy of your own!

  1. Introduction
  2. Planning Ahead: Easter Activities & Decorations
  3. Hosting Easter Without the Stress
  4. Breakfast, Brunch, Lunch or Dinner?
  5. Share The Joy – You Don’t Have To Do Everything Yourself
  6. It’s Not Just About the Easter Bunny – A Short History of Easter
  7. Getting Creative with Leftovers
  8. Closing Words
  9. Recipes
  10. Crafting Ideas

Buy it now

The owner of this website has made a commitment to accessibility and inclusion, please report any problems that you encounter using the contact form on this website. This site uses the WP ADA Compliance Check plugin to enhance accessibility.